

1- Get your pipes ready - if you don't know how - click here to learn it.
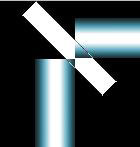
Place them on the background like this:

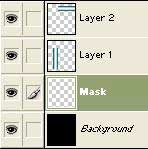
2- Create a new layer, drag it under the pipe layers and name it "Mask":
3- Choose white as foreground color, pick the line tool (Under Rectangle tool), go to the Line-Options and define 20 pixels Weight:
![]()
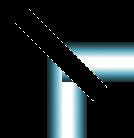
4- Start your line on the left, hold down the SHIFT-key to get perfect 45°, drag it down to the right (it will snap to 45°) and release the mouse button:
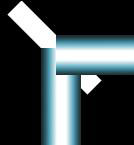
5- Pick the move tool, activate your pipe layers and move them as shown in
the picture.
Both pipes have to fit perfect to the border of the white mask.
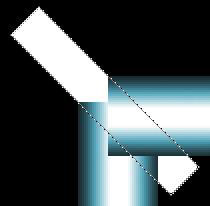
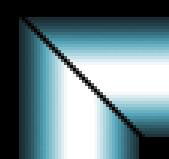
6- Select the "Mask" layer by ALT+click on the layer thumbnail in the layers
palette.
Activate the pipe layers and delete the "Mask" selection on both of them.
Delete the mask layer, we don't need it anymore.
If you have some unwanted corners, select the layers and erase them:
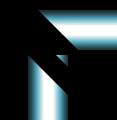
7- Zoom in, pick the move tool and assemble the pipes.
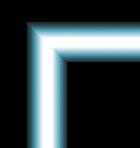
Ready!
 Yellowpipe offers Photoshop Tutorials as well as Serious Web Hosting and unique Free Webmaster Tools.