This tutorial will show you how to create professional looking eyes which will amaze you and your friends
Step: 1
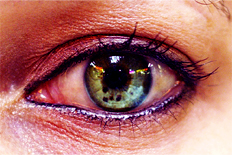
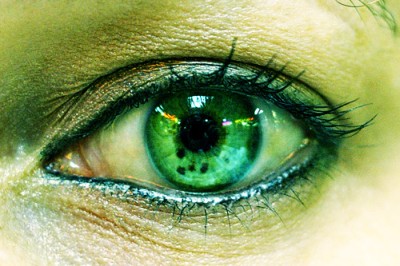
You need a picture of an eye I will be using this on for the tutorial
Step: 2
Now open this in Photoshop and select your Elliptical Marquee Tool ![]()
Step: 3
Make a selection of you pupil, create a new layer and fill it with black like this

Step: 4
Make the layer you just filled with black invisible, and duplicate the eye layer
Step: 5
Now select the top eye layer and CTRL+ click the layer you made invisible, hit delete
Step: 6
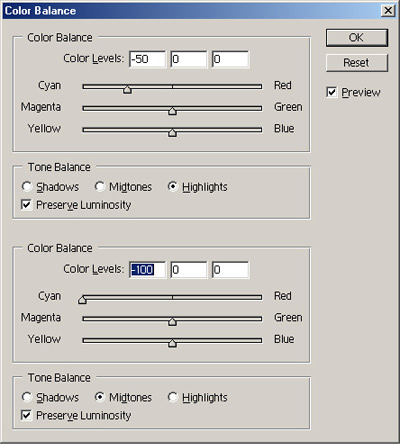
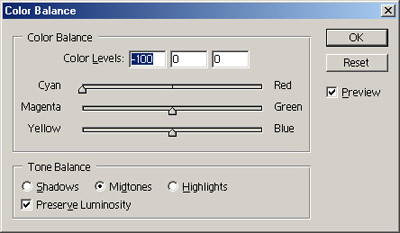
select the bottom eye layer and hit CTRL+ B use these settings
Step: 7
Now select the top eye layer and use these settings
Step: 8
Now you are basically done just remove the invisible layer that you had to fill with black, merge the whole thing together CTRL + E
Step: 9
Duplicate the layer and set the top one to overlay and duplicate it again, select you last layer and set it to soft light
Step: 10
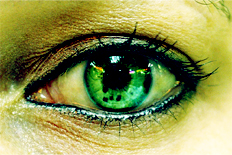
Finally you're done this is what you should have
Author's Notes
You can now hit CTRL + E to merge you whole image together, then hit CTRL + B to get the Color Balance dialog ,here you can experiment with the colors
Here is what I made