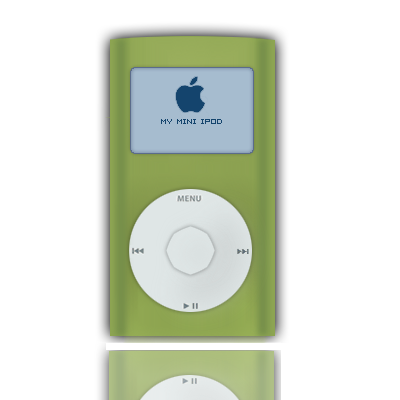
Hi there. Welcome to BSD Tutorial's Mini Ipod Tut. We'll be making a green coloured Mini Ipod. Sounds Cool no?
Phase One:
Set your foreground colour to: FFFFFF
And your background to: 8DA552
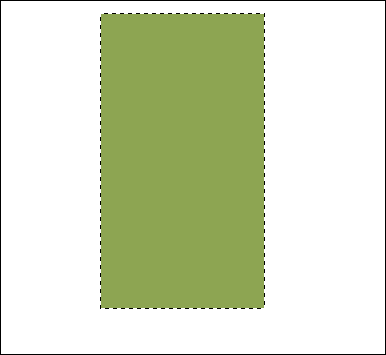
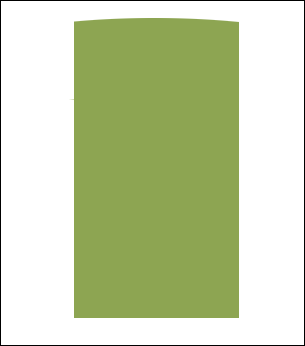
Step 1: Right then, lets open a 400 x 400 pixel image. Fill it white. Take your Rectangular Marquee Tool (RMT for short), and making the box I have fill it with the green background:
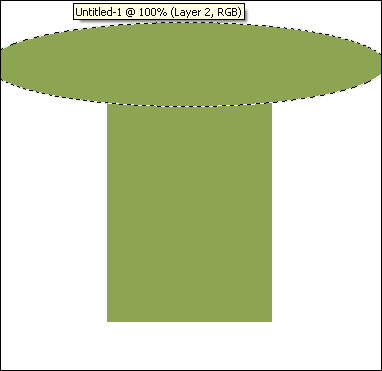
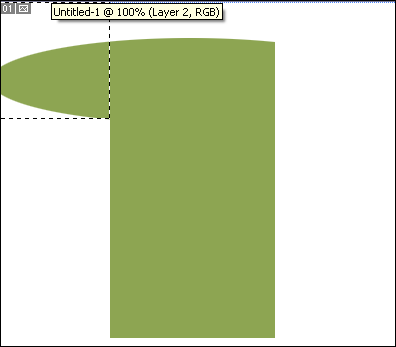
Step 2: Use the Elliptical Marquee tool, and make the oval I have. From here, fill it in with the foreground colour. Then use the RMT as I have done, to both sides. We've now added some shape to our ipod.
Step 3: Layer>New Layer. Use the RMT and make two small boxes like mine, and fill them: 768F4A
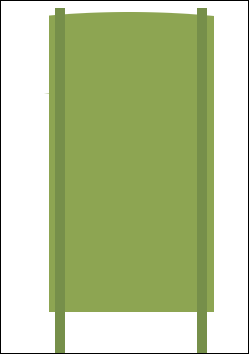
Step 4: Now, holding "CTRL" select layer two. The one with the basic shape of our ipod on. Without deselecting return to layer 3, and go Select>Inverse. Then simply press delete.
Phase Two:
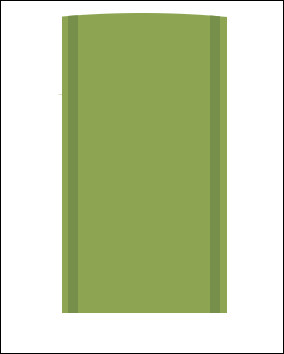
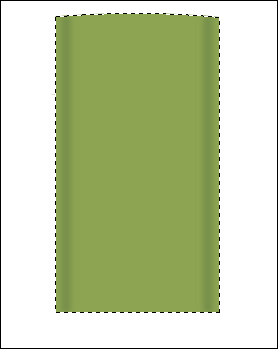
Step 1: Again hold "CTRL" and select layer 2 and return to layer 3 without deselecting. Filter>Gaussian blur with the settings of: 3.1
Step 2: Layer>New Layer. With the Elliptical Marquee tool, make the following circle. Press Shift while making, fill: DFE6E6 Apply a outer glow.
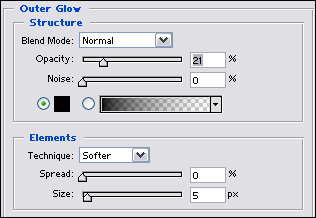
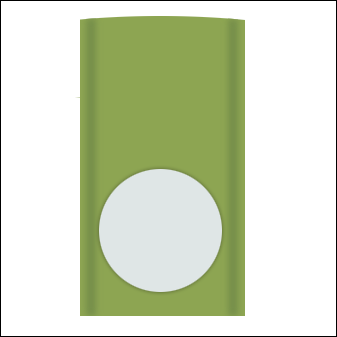
Step 3: Hold Ctrl and select the layer with the circle on. Then Select>Contract with 35 pixels. Layer>New Layer. Fill with foreground. Apply this outer glow:
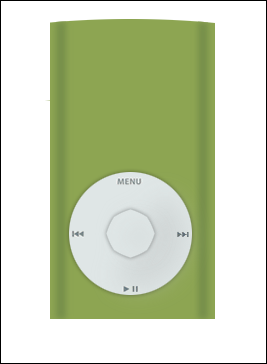
Step 4: Now, you can return to your two circle layers and add some depth, use a light grey: C3C7C7, and with the brush tool, size 19, brush the circles. Then Filter>Blur>Gaussian blur 12.6

Step 5: Add some text and icons, you can use your own, or pinch some from some real ipods ;)
Step 6: Layer>New Layer. Use the RMT to make your screen, fill it . Then Select>Modify>Smooth, with 3 pixels. Then Select>Inverse, press delete.
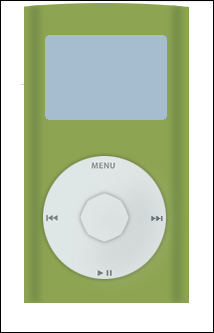
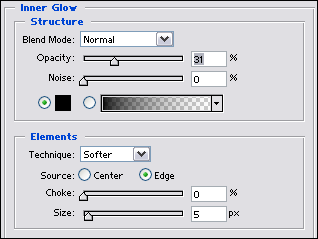
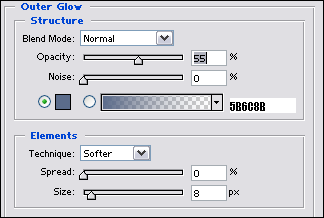
Step 7: Add the following stroke, Outer glow, inner glow:

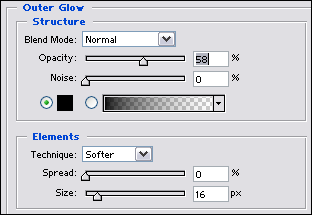
Step 8: Now, go back to Layer 2: The basic ipod shape layer and add this Outer glow:
Step 9: Still on Layer 2, go Layer>New Layer. Take your brush tool size 19, and in colour order brush the shape: A4B564, 8DA051, 788948, AEC760. Then Blur>Motion blur. Angle: -90 Distance: 95. Done!
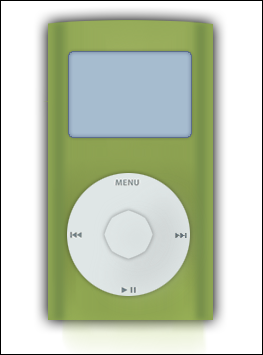
Step 10: Add a few extras, and, bingo, you've finished: