Welcome to Orange Blast, today we'll be making a funky layout. Grab Photoshop, and lets rock and roll! Before we even start, download a pixel font that'd you like to use. Browse these, and select one you think you'd like: dafont.com I use 04b08.
Phase One:
Open up you image sized 800 x 700. These images will not all be logged in at 100%. Set your foreground colour to: 29363E And your background to: CF3E0F
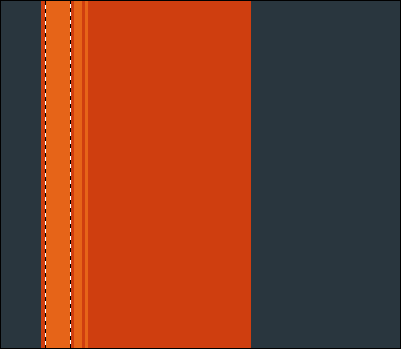
Step 1: Okay, to start off, let us simply fill in our image with the blue foreground colour. Layer>New Layer. Name it Orange panel. On this layer, take the Rectangular Marquee Tool (RMT for short), and make a similar sized box as mine, fill it the background colour:

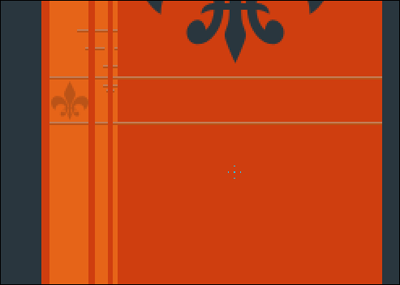
Step 2: Zoom to 100% and use Rectangular Marquee Tool, to make the series of boxes I have. Fill those boxes with the colour: E66418
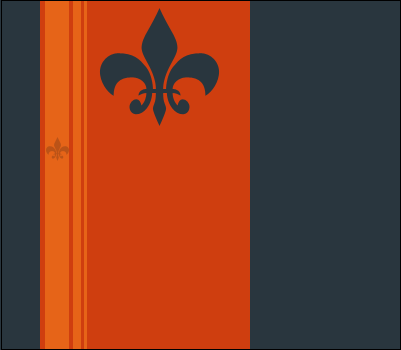
Step 3: Taking the custom shape tool, and using the colour 29363E, make the shape I have. Then, Layer>Raterize>Layer. You'll be left with the following:

Step 4: Repeat last step, with the colour: BB5317 and alot smaller.
Phase Two:
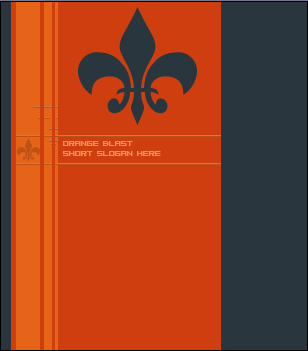
Step 1: Zoom in, with the colours BB5317 (darker) C47C55 (lighter), then take your pencil tool, size 1 pixel, do what I have done:
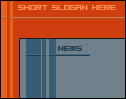
Step 2: Taking your text tool, and the pixel font you downloaded, with the colour FF8E4C, write out your version name, and short slogan. Stick with about size 8.
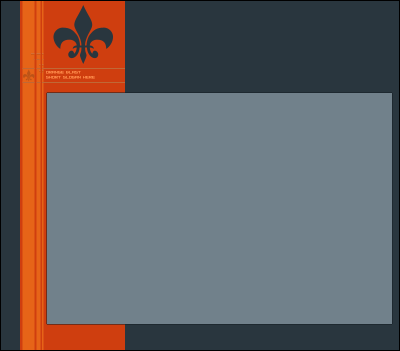
Step 3: Layer>New Layer. Use the RMT to make the box I have, fill it: 71818B. Then apply a one pixel stroke, colour: 141D22
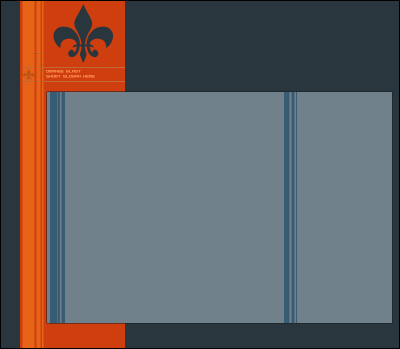
Step 4: Just as your did in step one, use the RMT, to make different sized boxes, fill these: 385C73 Use these boxes to spilt the content area, into two sections.
Step 5: Take your text tool, and write out your links. Then Layer>Duplicate layer, and move the links to the bottom of the content area (Also add, more inset lines, if you wish)
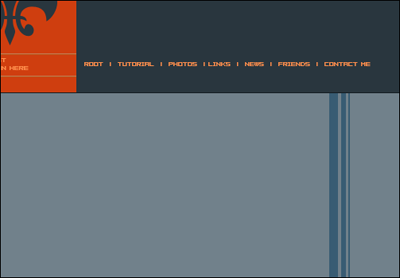

Step 6: Go back to the Orange Blast layer. And go, Layer>New Layer. Then use the RMT to make boxes, ect you know by now. Fill the outside two boxes: E66418 and the middle: CF3E0F:
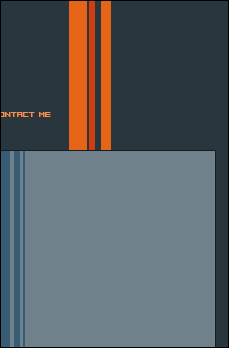
Step 7: Return to the layer where you put the blue stripes in the content area. And put some more inset lines in. Then write your text. I use the colours: 406E8B, 213E50

Step 8: Your finished! Add your final touches, and enjoy your layout! Use such things as poxt symbols, ect:

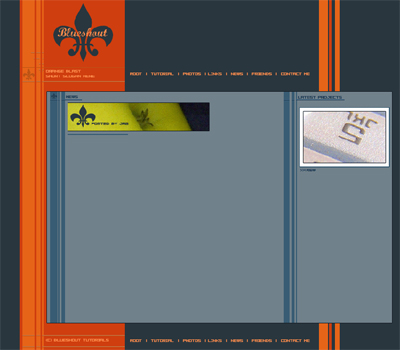
Step 9: My finished product: