


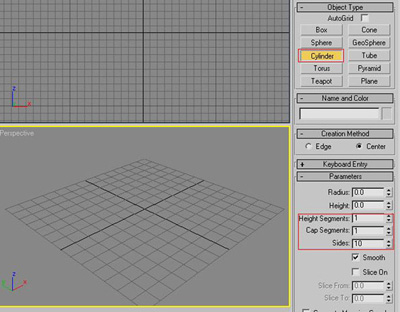
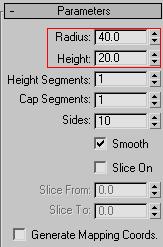
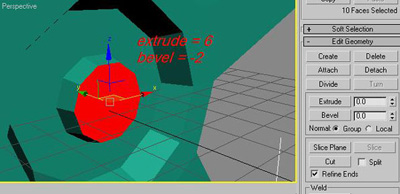
Make a cylinder with the settings of picture 1 and picture 2
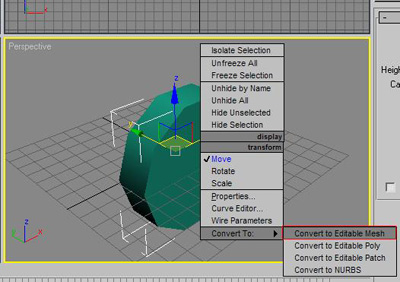
Then convert to an editable mesh by right clicking
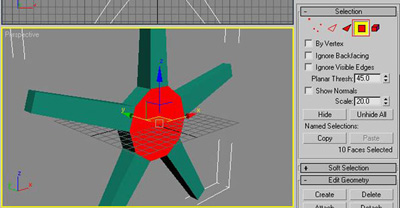
Select the outside polygons (squares) but missing one each time
You should have 5 squares selected
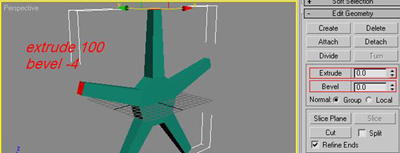
Rotate with the tool at the bottom (see pic)

Then scroll down the editable mesh menu and tyoe 100 into extrude THEN -4 into bevel
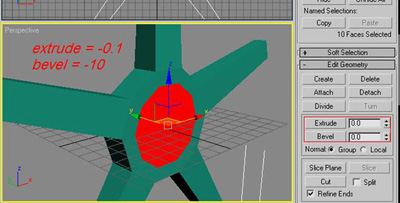
Select the middle polygon by clicking on it
Type into the extrude box -0.1 and THEN into bevel -10
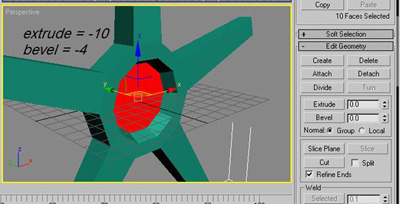
Extrude -10 THEN bevel -4
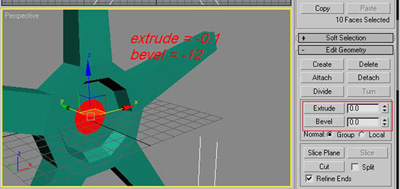
Then extrude -0.1 THEN bevel -12
Extrude 6 THEN bevel -2
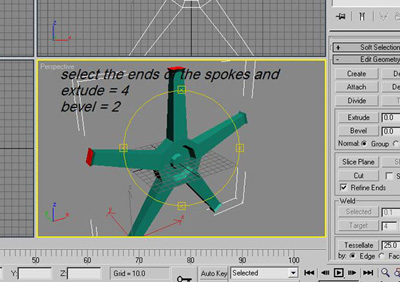
Select the ends of the spokes and extrude 4 THEN bevel 2
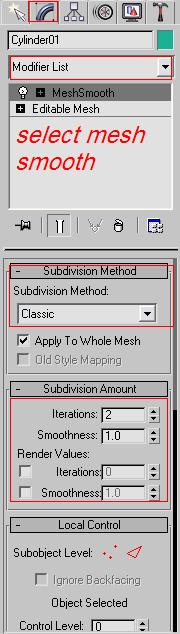
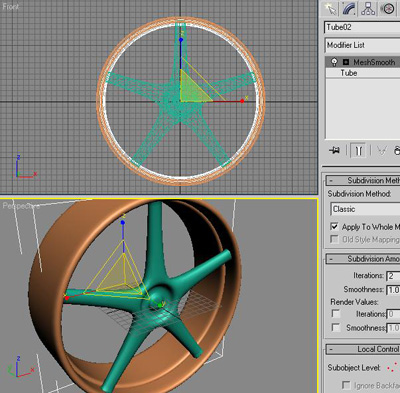
Then apply a mesh smooth by clicking on the blue rainbow, scrolling down the modifier list and selecting Mesh smooth
Then set Sub division mode to Classic
And Iterations to 2
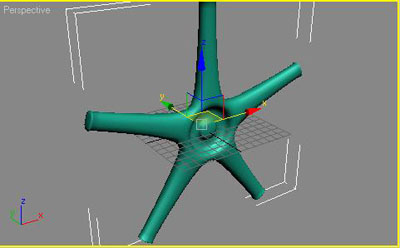
You should have a pic like this now
Make a tube with a radius1 of 140 a radius 2 of 150 and height as 100

Then apply a mesh smooth
Then duplicate but scale it to the size of this picture
Then make 2 more duplicates but thin and put on each side of the wheel

Finished
Now give it a nice material and your done, Hit Render and put to your settings you want