

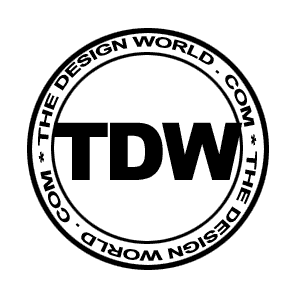
In this tutorial we'll create a simple "passport-chop" or "rubber stamp" effect. I know, passports don't chopped anymore, but anyway... Good for "approved" or "guarantee" buttons, or logo design. Photoshop isn't the best for making curved text, however we can still get a decent effect.
1) Create a new 300 x 300 pixel document, with white background and black foreground.
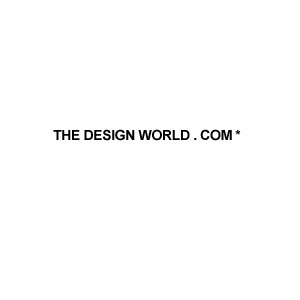
2) First we'll create the outer ring of type - Add a short line of type, for this example I used the boring but ever-present "Arial"
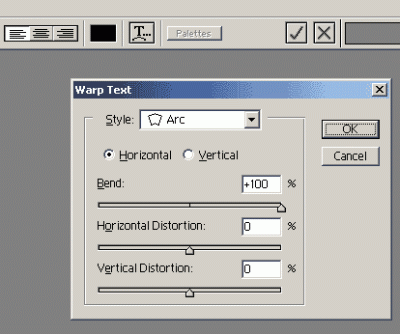
3) Double click the text layer, and select "Warp Text" from the font options. Set the style to Arc / Horizontal / Bend 100%. You'll end up with a curved type.
4) Next, Duplicate the type layer and rotate the new layer 180 degrees - Edit->Transform->Rotate 180. Move the second layer so you have a decent circle like this:

5) For the outer ring, draw a circle outside the text with the Ellitical Marquee tool. (use alt-shift while dragging from the center). Nudge the selection to make sure its centered, and apply a border by using 5px black stroke - Edit->Stroke->5px.
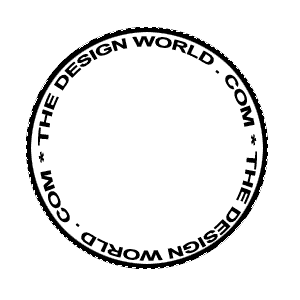
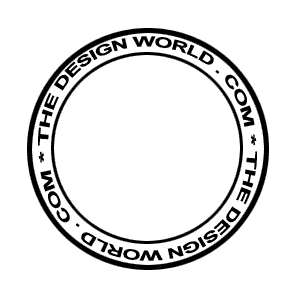
6) Draw another circle around the inside of the text using the same procedure, the result should look like:
(I used a thinner stroke for the inside circle, it's up to you).
7) Now for the main logo. Create a new layer, and either add a graphic or create some Type. This example uses the Arial-Black black font, at around 72pt. At this point you're pretty much ready to go.
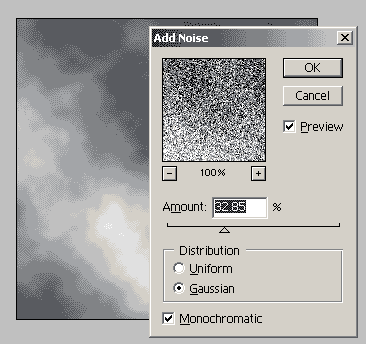
8) To add the broken "chop" effect, we just need to add some texture. Create a new layer (make sure it's the top layer), and add some clouds by selecting Filter->Render->Clouds. Then add some noise by selecting Filter->Noise->Add Noise.
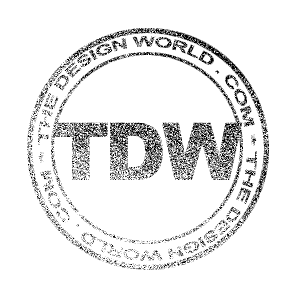
9) Finally, select the new noise layer, and change the blending mode to "screen". This will give our passport chop some texture. That's it!
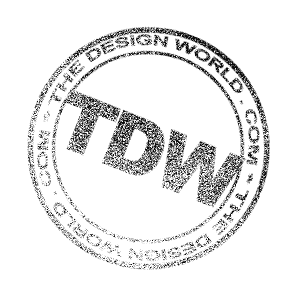
10) For the final example, I made a merged copy and rotated.( select all, Edit->Copy Merged, Edit->Paste, Edit->Transform->Rotate )
Enjoy.