As Christmas is coming closer and closer, the number of winter theme decorations is ever increasing, both in the streets and on the websites. If your site is still without any token of snow and you're looking how to add some, you're reading the right thing. In this tutorial, I'll be explaining how to add falling snow to any picture.
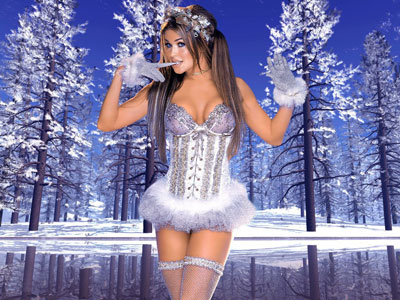
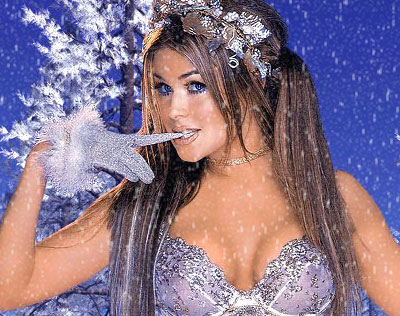
Open the picture you want to add a curtain of falling snow to in Photoshop. I chose Carmen Electra for my experiments.
The technique of adding snow is fairly simple. Using various filters, you need to generate white spots on the black background and then change Blending Mode to Screen for the layer with the spots. This will make the black transparent, and only the white spots will remain. The choice of filters for the black background is as limitless as out imagination.
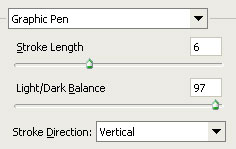
For starters, you can create fast distinct flakes in the foreground. Create a new layer, fill it with black and change change Blending Mode to Screen. Apply Graphic Pen filter with the following settings:
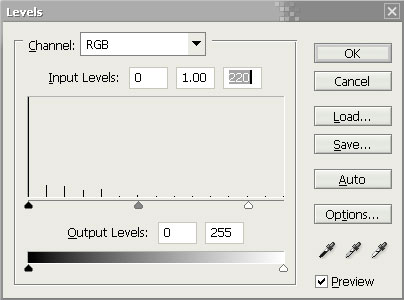
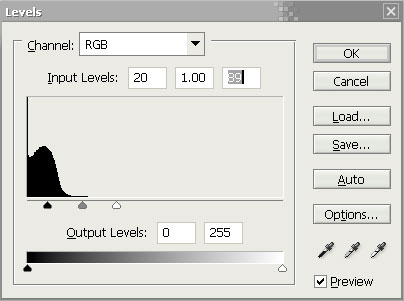
This looks too sharp. Applying blur will improve the picture a bit. It will look still better after you've altered the level of distinctness using levels:
Also the opacity can be lowered to 80-90%.
Well, the initial stage is completed. If you are already satisfied with the result, you can stop right here. But perfection has no limits, so let's continue.
It's time now to add snow in the background. The first part is the same as in the previous stage. Create a new layer, fill it with black and change Blending Mode to Screen. After that apply the Reticulation filter with the following settings:
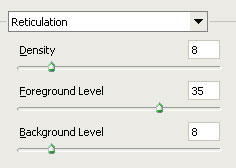
Set the opacity to 30%.
Now it's much better. But let's not stop at what we've achieved so far and go further in our perfections. You can add slight gusts of wind to the picture . Creating very vague long white spots will do the trick.
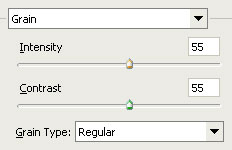
Create a new canvas of any size, for instance, 1024x768. Using Rectangular Marquee tool, select a fairly small (200x150) area and fill it with black. Apply Grain filter to the selected area. The filter should have the following settings:
You should get a whole lot of tiny multicolored dots as a result. But we need the white ones, and larger. First, Desaturate the selected area. Then using the Free Transform tool, enlarge the area several times (to the size of the canvas or even larger). I enlarged it to 964x717. Correct the settings in levels to make some areas more realistic:
Define the pattern using this canvas.
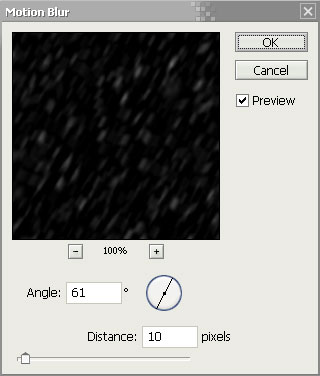
Now go back to the canvas with Carmen Electra. Create a new layer and fill it with the pattern you've just created. Change Blending Mode to Screen and set opacity to 40. The only thing left to do is to apply the Motion Blur filter, and the gusts of wind are ready!
This layer can be duplicated for a better effect. Only don't forget to move the doubled layer several dozen pixels in any diagonal direction using Move tool.
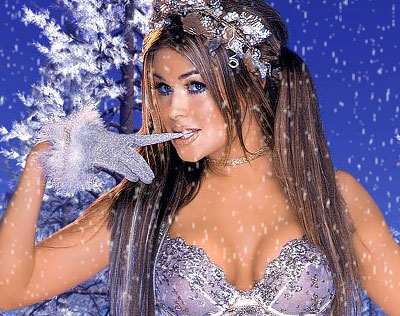
Here's what I got.

We can finish at this. Try your own methods, go on experimenting, and you are sure to get something even more interesting than this. Good luck!
For more Christmas Tutorials please visit this page.
