

Step 1: open a new document any size but i used 500x500 pixels.
Step 2: create a new layer.
Step 3: fill that new layer with pure black.

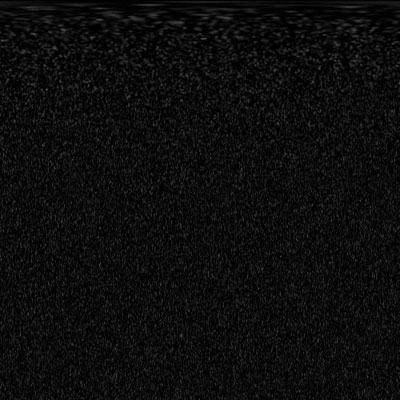
Step 4: go to filter>noise>add noise and use the settings 12.16 gaussian and monochromatic.

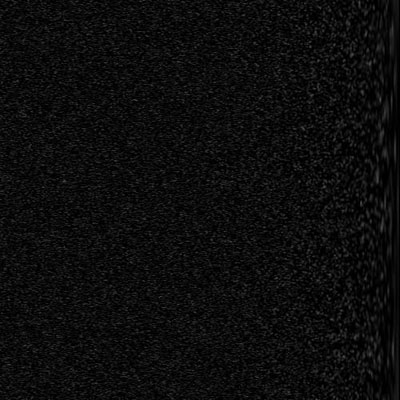
Step 5: go to filter>distort>polar coordinates> and use the settings polar to rectangular.
Step 6: go to image>rotate canvas>90 cw.
Step 7: go to filter>stylize>wind and use the settings wind and front the right (you can do it to the left also but i like it when its from the right) and apply that 1-3 times depending on how fast you want your warp to look.
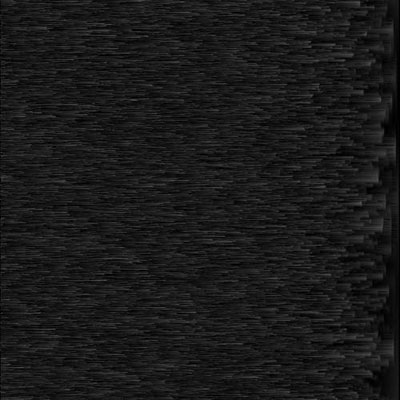
Step 8: go to image>rotate canvas>90 ccw.
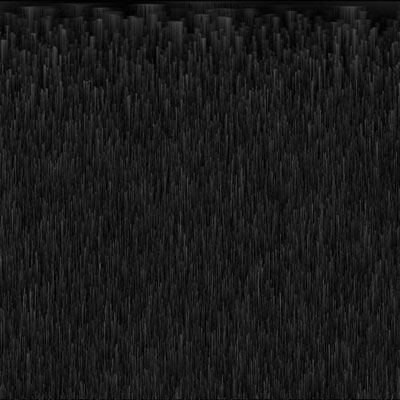
Step 9: go to filter>distort>polar coordinates> and use the settings rectangular to polar.
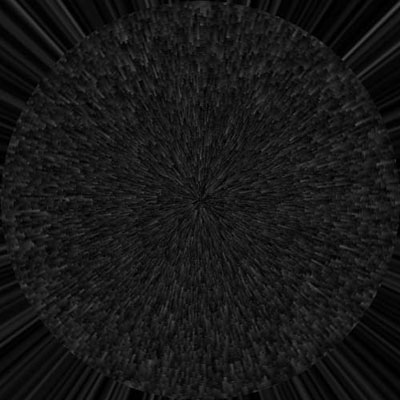
Step 10: zoom in a little bit or how ever much you want to make the the the ball like figure look real or crop the image (i don't know how to take a pic to show you how to do that sorry) well have fun with this tutorial and good luck.