

Open a new file , size 500x500
1. Get your Gradient Tool, make sure its on difference and make some long lines.
2. Duplicate your layer. Filter-Distort-Wave , use the setting you like , put the Blending Mode on Lighten. Merge Down [ Ctrl+E ]
3. Repeat step 2.
4. Go too Filter-Stylize-Emboss , put the Blending Mode on Multiply , merge down , and give it some color.
5. Filter-Sketch-Water Paper , use these settings :
Fiber Length : 3
Brightness : 54
Contrast : 74
Put the Blending Mode on Lighten. Merge down.
6. Go to Filter-Blur-Gaussian Blur , Radius : 1,8 pixels.
Put The Blending Mode on Screen.
You should have a result like this :
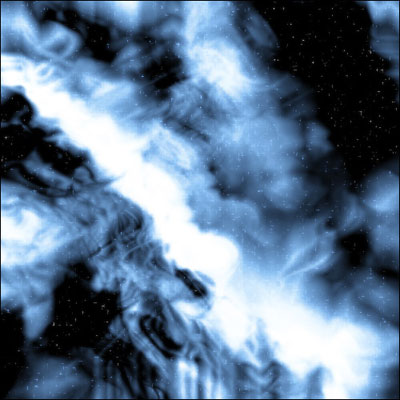
Click to enlarge