


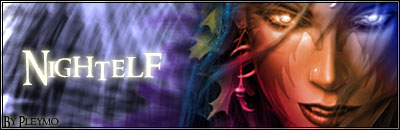
Okey, in this tutorial i will discribe how you can make a kind of background I used in this sig:
1. File>New>1024x768
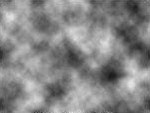
2. Filter>Render>Clouds
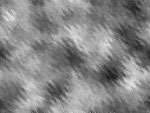
3.Filter>Distort>Ripple:
Amount: 500%
Size: Large
4. Duplicate your layer
5. Select your duplicated layer: Filter>Distort>Twirl
Angle: 190
6. Select your Original layer: Filter>Distort>Twirl
Angle: -190
7. Set the blending mode from the upper layer to "Overlay"
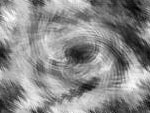
8. Merge those layers by pressing Ctrl+E
9. Now select wich part of the image you want to use in your sig
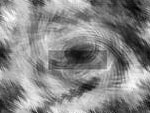
10. Copy that part, paste it in your new sig.

11. Make a new layer and fill it with the gradient:
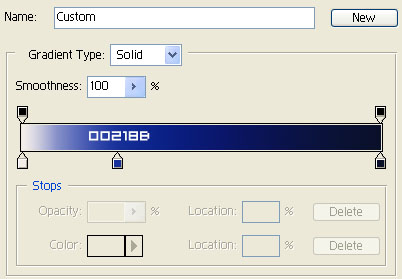

12. Change the blending mode to Color Dodge, and you are ready

You can mess around with your colors and the gardient to get a better effect that fits with your sig