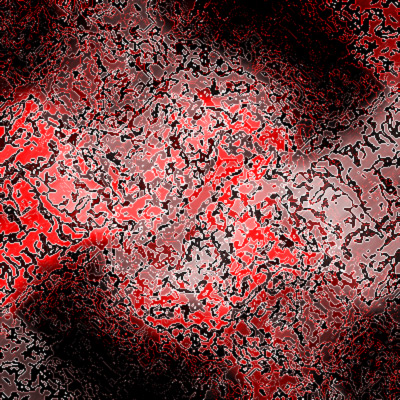
1. Start out by creating a new white document. Mine is 400x400.
2. Go to Filter -> Render -> Clouds
3. Then, go to Filter -> Brush Strokes -> Ink Outlines with these settings :
Stroke Length: 50
Dark Intensity: 50
Light Intensity: 5
4. Duplicate your layer and set the layer's blending mode to Lighten.
5. Go to Edit -> Transform -> Rotate 180°.
6. With still the duplicated layer still selected, open up the Hue/Saturation Box with there settings :
Hue: 0
Saturation: 25
Lightness: 0
7. Go back to your original layer and open up the Hue/Saturation Box again, with these settings :
Hue: 0
Saturation: 100
Lightness: 0
8. Merge both layers.
9. Go to Filter -> Blur -> Gaussian Blur with these settings :
Radius : 0.3 pixels