1. First create a new document at 500 x 500 pixels.
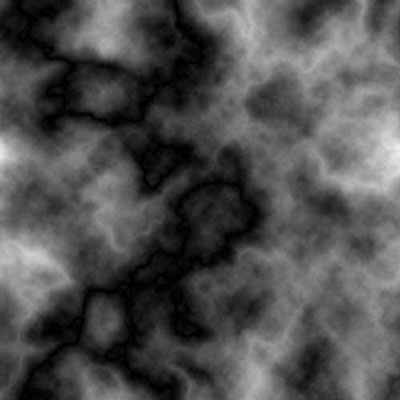
2. Press D to make sure your colors are set right. Then go to Filter -> Render -> Clouds. Then Filter -> Render -> Difference Clouds. Press Ctrl + F a couple times to repeat until you get something like this:
3. Go to Filter -> Distort -> ZigZag (Amount: 100, Ridges: 4, Style: Pond Ripples).
4. Make a new layer and fill it with black.
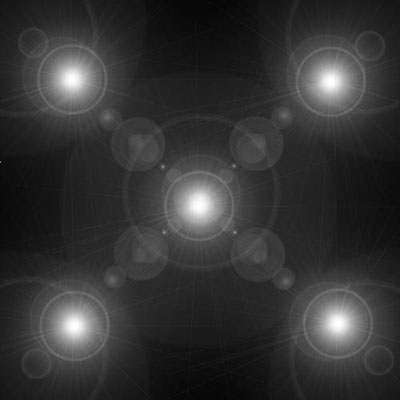
5. Go to Filter -> Render -> Lens Flare and put 5 in. Then press Shift + Ctrl + U to desaturate the layer. You should get something like this:
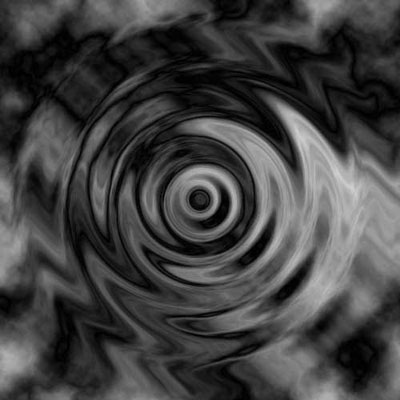
6. Go to Filter -> Distort -> Twirl and set the angle to 999.
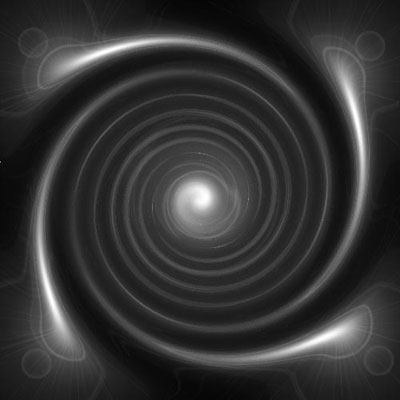
7. Duplicate the current layer, then do a Filter -> Distort -> Ripple (Amount: 600%, Size: Medium). Then set the top 2 layers' blending mode to Lighten. You can now merge the layers if you want (Ctrl + E).
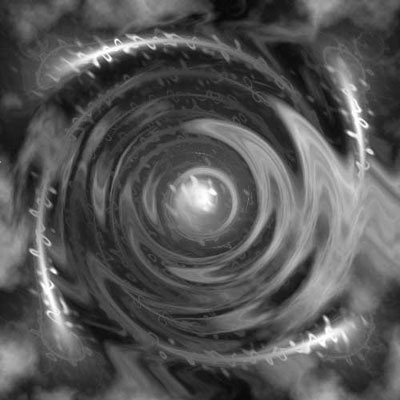
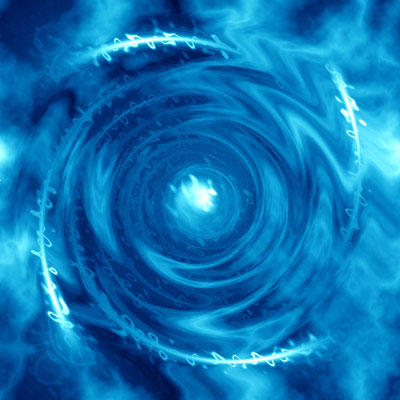
8. Finally, make a Color Balance layer (Layer -> New Adjustment Layer -> Color Balance) and play around with the settings until you get a good color. This is my final result: