1. Open a new document, black background and white foreground. For this we'll be using a 500x500 sized document.
2. Filter > Render > Clouds
Filter > Render > Different Clouds
3. Control-I (Image > Adjustments > Invert);
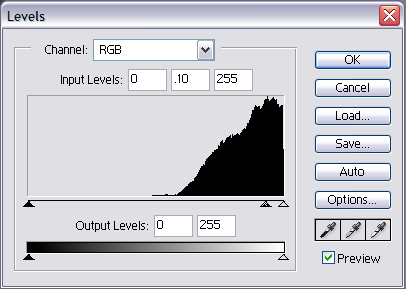
Control-L (Image > Adjustments > Levels); set the second number (default 1.0) to '.10'.
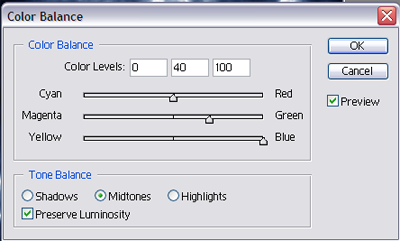
4. Control-B (Image > Adjustments > Color Balance); Set the numbers (left to right) as: 0, 40, 100 (good blue color).
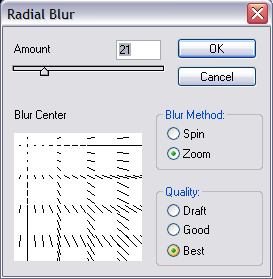
5. Filter > Blur > Radical Blur (Method: Zoom; Quality: Best; Amount: 21); Click (in the blur box) the top-left corner, so that's the 'center' of the blur...
6. Filter > Render > Lens Flare (Top-Left corner, 136% amount, 105mm Prime).
** From here on we'll be altering it into a Vortex **
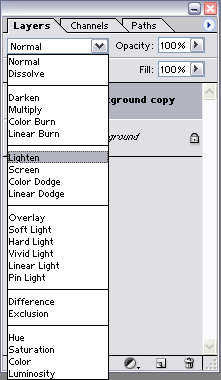
7. Right-click your layer > Duplicate Layer; set mode to 'Lighten' , then control-E
(Layer > Merge-Down) to merge the layers.
8. Right-click your layer > Duplicate Layer; Set mode to 'Lighten', then Filter > Distort > Twirl (amount: 300).
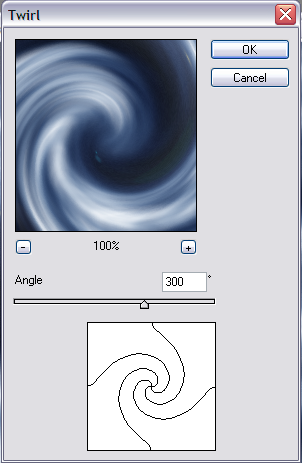
Control-E (Layer > Merge-Down) to merge the layers.
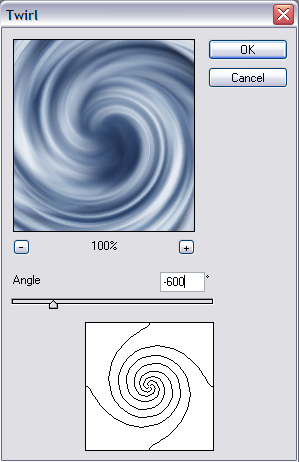
9. Repeat step 8, except set twirl amount to -600.
10. Control-B (Image > Adjustment > Color Balance) and set the numbers (left-to-right) as: 0, 40, 100.
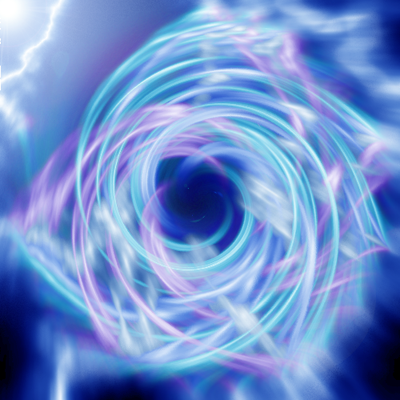
We now got an awesome vortex of lightning
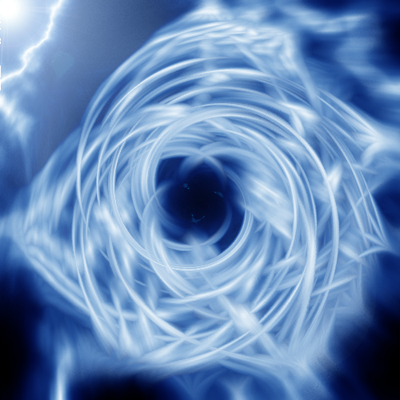
Also you can play with the color levels before you merge layers to get something like this: