


1. First, lets make a pattern, so open a new file > set the (width:3px - height:3px - background contents: transparent) now click ok.
2. Zoom in to 1600% and select the pencil tool (make sure you have the foreground color set to #000000) - now click the bottom left, middle and top right. It should look exactly like:

3. Now we need to define this as a pattern, so click Edit > Define Pattern > name it pattern1, once done you can close that document down.
4. File > new > set the (width:584px - height:43px - background contents: white) now click ok.

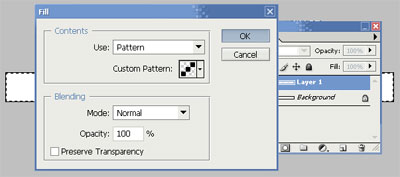
5. Open a new layer within the document (make it the top layer) now using the rectangular marquee tool, highlight the whole document > right click > fill … > change the contents to your pattern and click ok.
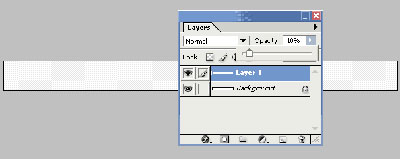
6. We now need to change the opacity of the lines, so it blends into the header more, do this by clicking layers > and change the opacity to 5%-10%.
7. Change your foreground color too (#6F55AF) and create a new layer (make sure this is the top layer now).
8. Select the gradient tool, from the drop down menu that should of appeared at the top, make sure its clicked too (purple too transparent).
9. Now drag the marquee from the left of the document to the right, you should now be at this stage:
10. Lets wrap this up with some text, using the text tool click on the left-side of your document and type some text (change your text size, style, color, weight etc.. to suit your needs). Congratulations.. your done!