1. Open up your signature with no color added yet. (Image > Adjustments > Desaturate, IF it isn't.)

2. Go to Layer > New adjustment layer > Color Balance to create a new color balance layer above all other layers. Apply the below settings.

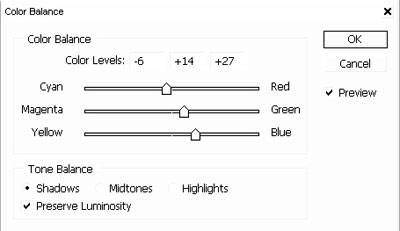
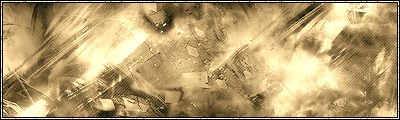
3. When that's done, you should have something looking like this. Remember you do not have to use my settings, use to your liking
4. Okay now here is the main part, this might be a little tricky. Make a new layer just below the color balance layer and start brushing with NON-render brushes(something grunge looking/abstract/both, just make sure they are not made from renders) in the parts that you want the other color to appear, brush in black and white only. Make sure that some of the white brushes intercept with the black brushes, or else you won't get the color effect later on. Make sure all of this is done on one layer and that some of the white brushes are on the black brushed part, or vice versa(on the same layer).Should look like this.
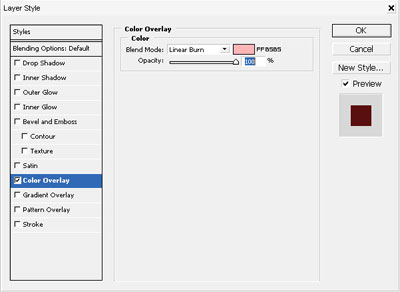
5. Now go to Layer > layer style > Blending options and go to color overlay. Set the mode to Color Burn or linear burn, but make sure to choose a very light color.
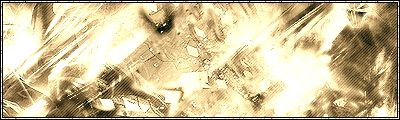
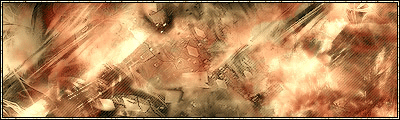
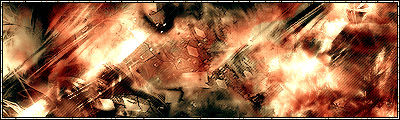
6. If you did everything right in the last 2 steps, it should look something like this.
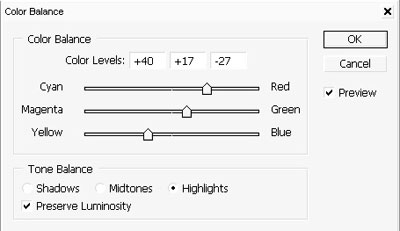
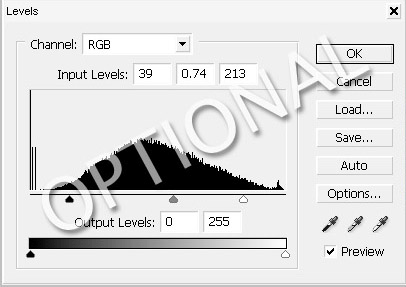
7. You should add a level layer to give it some extra dept. Layer > New adjustment layer > Levels. I added these settings to mine. Use a different setting to suit your sig.
8. Here's how mine look now.
9. Add some extra effects, some text, a render and you done.