

Heres a tutorial that will how you how to carve your mark. This is so simple it should be illegal.

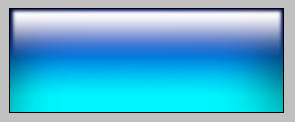
1. Start with the background. This is one I made using a couple of gradients.
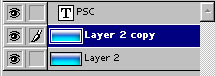
2. Add a new layer with your type on it.

3. Duplicate your background layer. Press Ctrl/Cmd+J
Ctrl/Cmd click on your type layer to start the "marching ants"
Make sure your top background layer is active.
Press delete, you won't see any difference, but you just cut a hole in your layer.
Click the eye icon next tothe type layer to hide it.
4. Click the "f" at the bottom od the layers pallette to add a layer style.
Go to bevel and emboss and fool around until you get a similar result. See your type appear just like magic.
Keep the layer style box open.

5. Now go to drop shadow and add a similar setting.
Click ok to apply your effect.

6. Now lets darken the background a bit for some added realism.
Select the bottom background layer.
Press Ctrl/Cmd+L to open the levels box
Drag the left most slider in a bit and the middle one to the right a bit to darken things up a tad.
7. Here is the result!