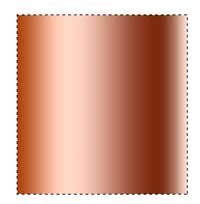
1. Make a selection on a new layer with the rectangular marquee tool (M).
2. Press the "G" key to select the gradient tool.
Select linear gradient and the copper preset.
3. Click and drag from left to right in the image window.
TIP: Hold down the Shift key to constrain to perfect horizontal line.
4. CMD/CTRL+T brings up the free transform tool.
PC: left click/Mac: CMD Click - select Perspective.
Drag the top corner into the middle.
Click Enter/Return and you have a cone. This is also a great method to produce a triangle.
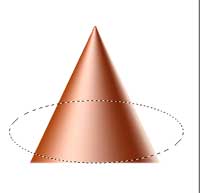
5. Now for the rounded bottom to make it look more realistic.
Make a selection with the elliptic selection tool.
TIP: Hold down the space bar while drawing to move a selection.
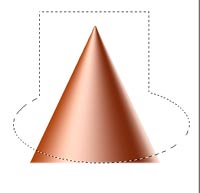
6. Now add a retangular selection by holding down the shift key. you will see a + which means you are adding to a selection.
Press CMD/CTRL+Shift+I to invert the selection.
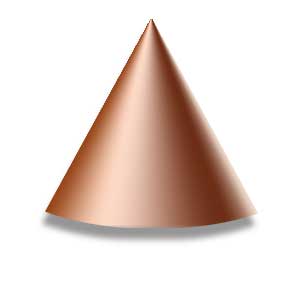
Press the Delete key, and you have your finished cone
7. Here is the finished cone with a drop shadow added.
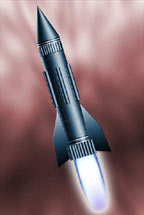
This is the same method I used to make the nose of my Rocketship.