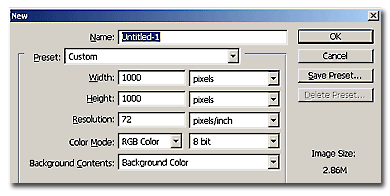
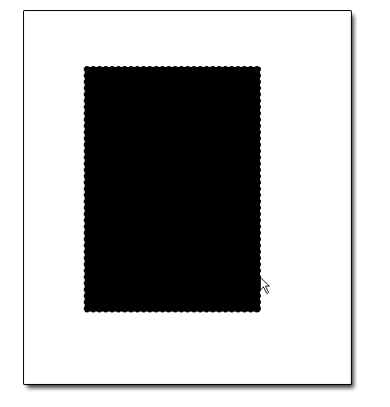
Make a new document, 1000x1000 pixels with white background.
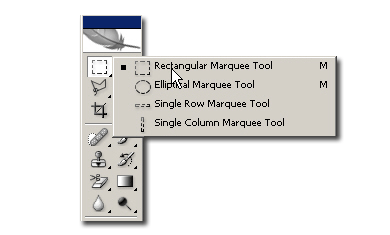
On a new layer, using the Rectangular Marquee tool, make a shape for the front of the product, like in the example below. Fill it with black.
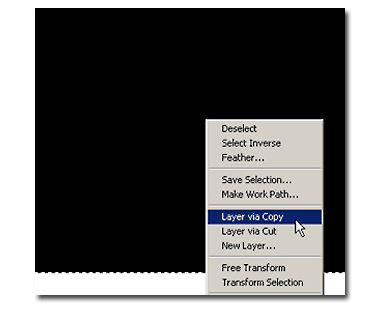
With the rectangular marquee tool still selected, right click on the selection and choose "Layer via Copy". You'll notice a new layer being created.
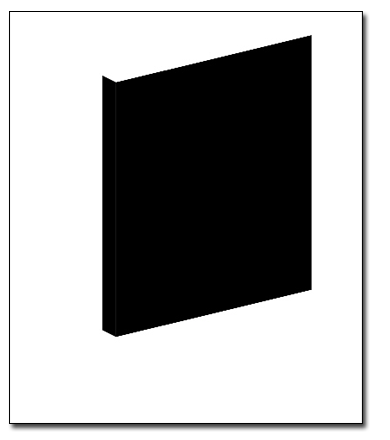
Keeping pressed the CTRL key (Command key on Mac), click on that layer. Now you have selected the new layer. Just like in the 3D cube tutorial made earlier, bring the new face to the form I show you below:
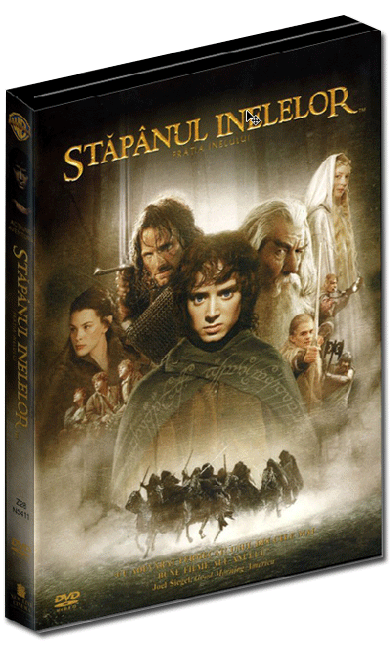
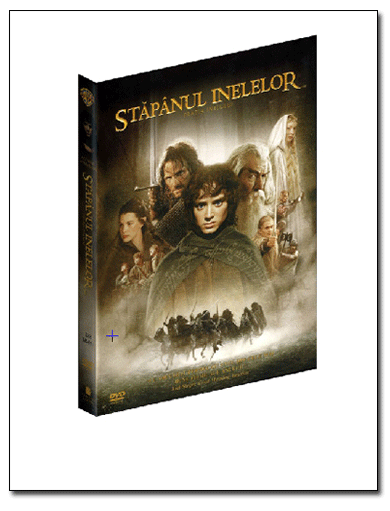
Now bring the "covers". I have chosen the cover of my favorite movie DVD, Lord of the Rings. I included the side image because it will be in view. Open your front cover artwork, hit V to select the Move Tool, and drag the artwork into the document with the box.
Hit Ctrl+T (Mac: Command+T) to bring up the Free Transform outlines. Shrink the front cover just small enough to completely fit into your document. You may need to enlarge the border of your document or move the cover art around to find the corners. (To preserve proper dimensions, you can click on a corner and hold down the Shift key as you are resizing it). Hit Enter to apply the transformation.
Go to Edit>Transform>Distort. Click and drag the corners of the cover to the corresponding corners of the front of the box.
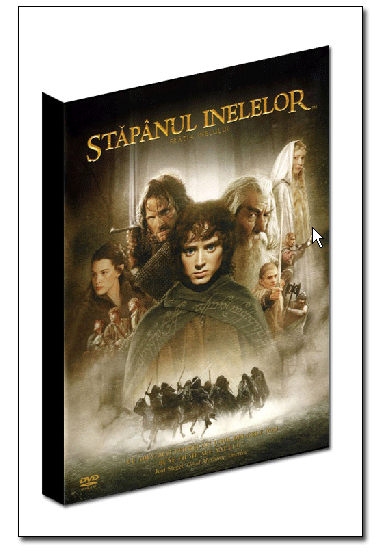
Repeat steps for the image of the side cover. Distort it to fit on the left side of the box.
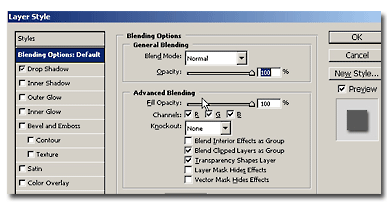
Make another layer and repeat the steps to make the top of the product box. This is it. Add to the face and the side a shadow from the layer style dialogue and you're done