

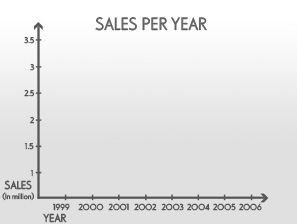
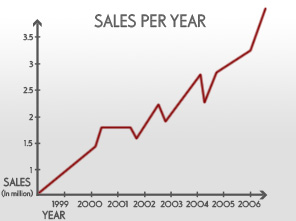
Start by applying a light color gradient to the background layer.

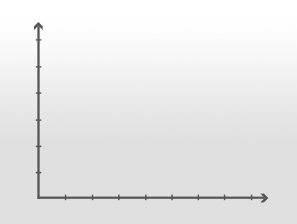
Create a vertical and horizontal axis using line tool.


Add some value dividers on these axis using line tool.


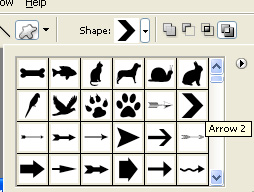
Create arrow shapes using custom shape tool and place at the end of the axis.
Add titles,values and legends etc.
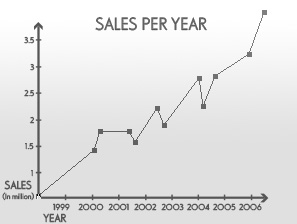
Plot a graph with random values showing upward motion using pen tool.
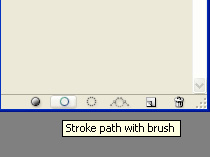
Create a new layer. Select a thin brush. In path window click stroke path with brush button.
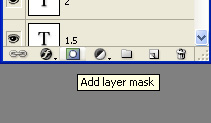
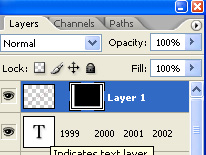
Enable layer mask.
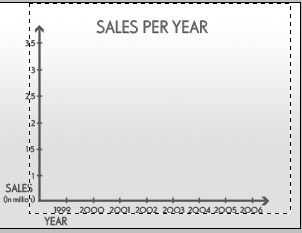
Create a rectangular selection using rectangular marquee tool. Select the mask thumb for this layer in layer window. Fill it with black color.
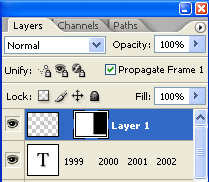
Unlink the layer and mask.
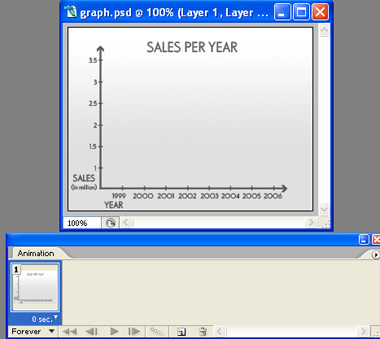
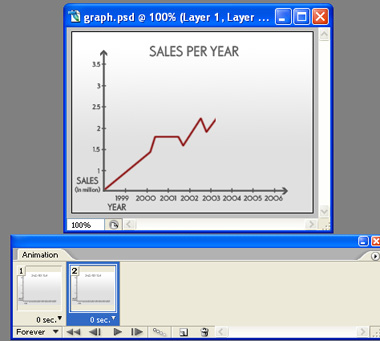
Open animation window. For the first frame let the graph be hidden under mask.
Duplicate the frame in animation window.
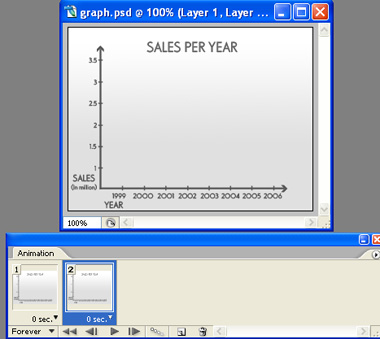
For this frame click the mask thumb in layer. Move the mask to the right till the end of the graph.
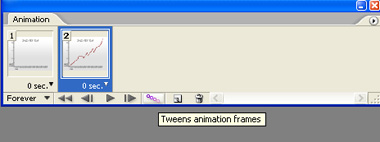
Keep the second frame selected and press tweens animation button.
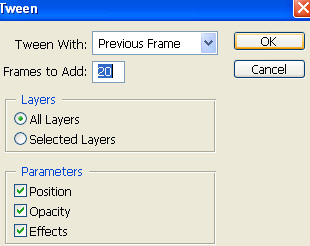
Apply settings as shown.
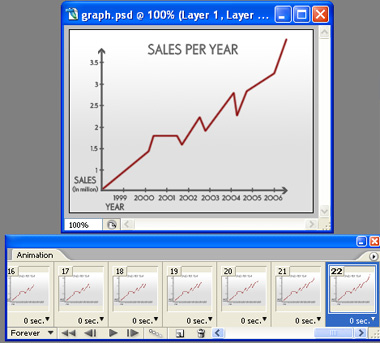
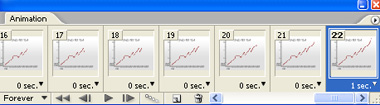
Adjust duration of the frames as shown in the image below.
Press Ctrl+Alt+Shift+S to save an animated optimized GIF.
