First, open a new document. transparent Background. try to use a size that you are most comfortable working with. I will be using a 350x150 document.
Either go to Edit -> Fill or just Ctrl+A, Shift+F5. Select Foreground Color, which should be black. If it's not, make it black.

Next, go to Filter -> Render -> Lens Flare. Use standard settings. Make sure that you can fit 3 lens flares. Here's what I came up with.

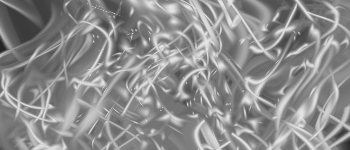
Now, go to Filter -> Sketch -> Chrome. Again, use standard settings. Here is what I have so far:
Set the blending mode to Overlay. Duplicate the layer FIVE (5) TIMES. You should now have something like this....
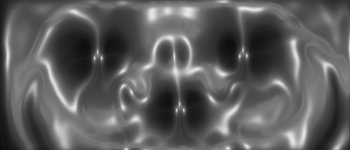
Now that you have 6 layers, you'll want to fix it up. Select the original layer. Go to Filter -> Distort -> Wave. Use all defaults, click OK. Do this to... Layer 1, Layer 1 Copy 1, Layer 1 Copy 2, and Layer 1 Copy 3. Make sure to click randomize every time you do a wave (ha ha). You should now have something that at least resembles this:
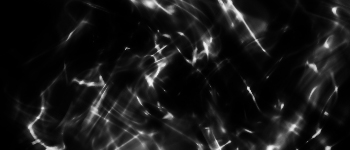
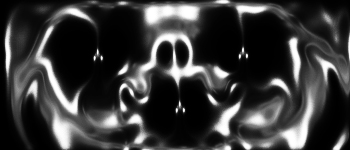
Now for the magic. Set every layer's Blend Mode to Lighten, and vuala!