Vectorize portraits by using blurs, blends modes, and shading.
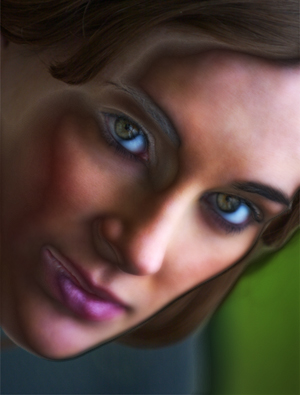
Let's begin using your portrait or use this one.
1. Duplicate the layer.
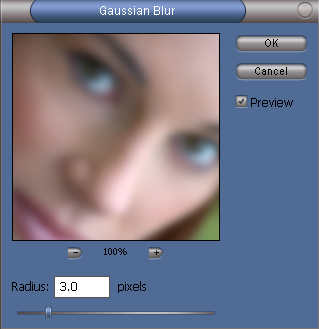
2. Filter > Blur > Gaussian Blur. With my image size of 300 x 395 I used a blur of 3, for larger images you may want to in crease the blur a bit more.
3. Set the blend mode to "multiply".
4. Layer > Layer Style > Blending Options.
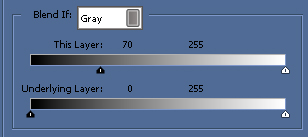
Now your layer style dialog box looks like this.
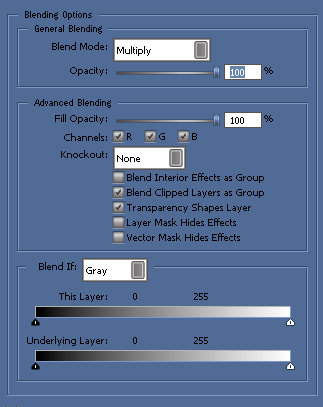
What we need to do is adjust the midtones and shadows. Under the "blend if" section drag the top black slider to 70 as shown below.
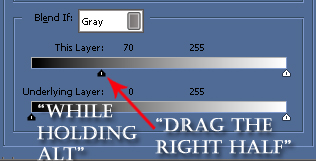
Now holding "Alt" drag the right half of the same slider to 100 shown below.
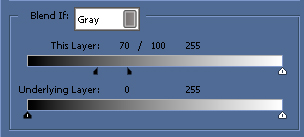
When your done it should look like this.
5. Next duplicate the layer. Set the blend mode to "overlay".
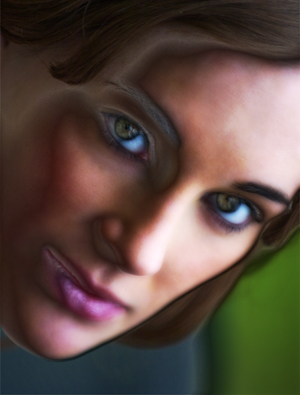
That's it you should now have something like this:
Tips: After step 5 you can take your burn tool and run over some of the bright ares and give more shadows. Examples of before and after pictures shown below.
Before:
After: