Create photo borders around your photos giving your photos an extra element.
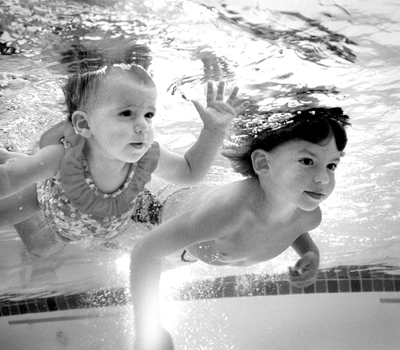
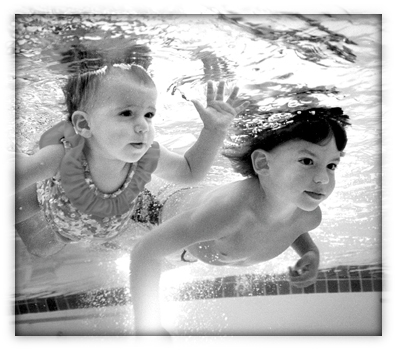
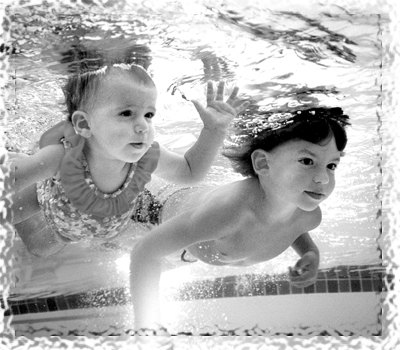
1. Open your image. I will provide you with this one for examples.
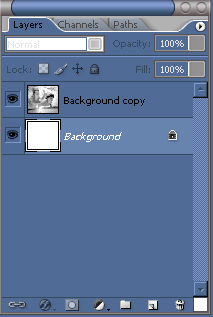
2. First duplicate the layer.
3. Now select the original background layer, and fill it with white.
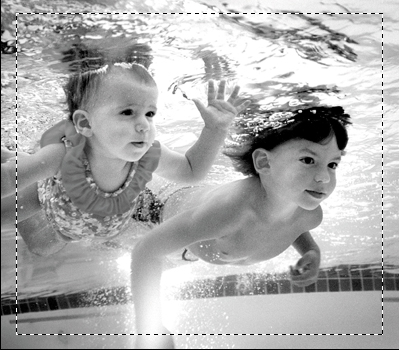
4. Select the duplicated layer, grab your rectangle marquee tool and make a selection like around the photo something like this.
5. Click the "layer mask" icon on your layers palette. You should now see the white border around the photo.
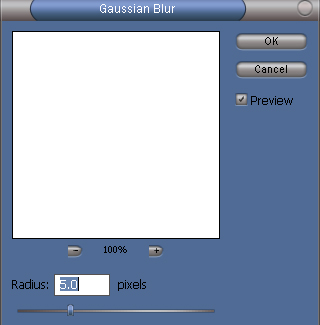
6. With the layer mask layer still active, go to Filter > Blur > Gaussian Blur.
7. Next go back to the original background layer which you filled with white in step 3. Create a new layer above that.
8. Select > Reselect.
9. Set your foreground color to black and fill the new layer you just made with black. Then you can deselect. (Ctrl + D)
You now have a standard photo border, but we are not done yet, lets add some effects to the border.
There are many different types of borders you can add, here a a few examples and how to do them.
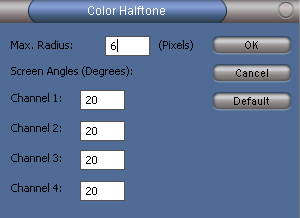
Color Halftone
1. With the the layer mask layer active. Go to Filter > Pixelate > Color Halftone.

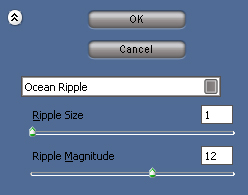
Ocean Ripple
1. With the the layer mask layer active. Go to Filter > Distort > Ocean Ripple.
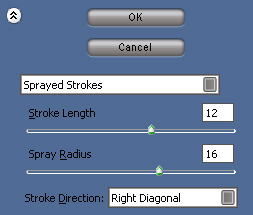
Sprayed Strokes
1. With the the layer mask layer active. Go to Filter > Brush Strokes > Sprayed Strokes.

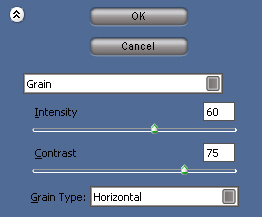
Grain
1. With the the layer mask layer active. Go to Filter Texture > Grain.