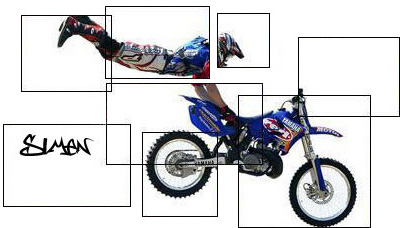
In this tutorial I am going to teach you how to make sigs like this:
It is very easy and everyone can manage it... The problem is to find a render which you might do this whit, and that is hard!!
And because that is so hard I'll post my render to you here (might be found at the bottom of the tutorial)
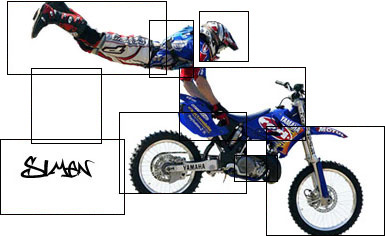
First of all you have to open a new document of course (Ctrl+N, I used the dimensions 500x250) remember to have a plain white background, now open the render in a new canvas (Ctrl+O and find your render) and re-size 9image > image size...) it to something who fits the BG (background) size you used for your sig. Now it should look like something like this:

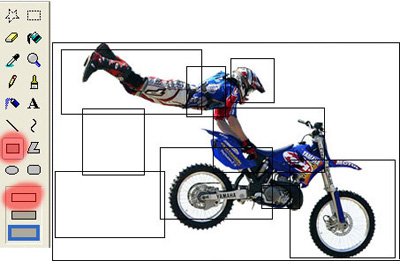
And now open your image in MS PAINT and now the fun begins! After opened your sig in paint use the square tool (see the picture) and start making squares all over the sig, but be careful don't make too many that will look bad... and take away the white at both sides of the squares. Now it will look something like this:
Now copy it (Ctrl+C Do not save it! Then it will loose quality!) and open in Photoshop, now select the rectangular marquee tool (M) and delete those parts of the render witch is outside the squares and select your magical wand tool (W) and press the white outside the squares and remove it with the background eraser tool (right click on the eraser tool and select it). Now it should look something like this:
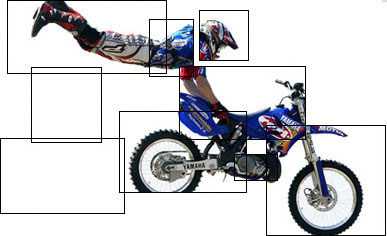
Now add your name and you are done!!! Simple what???
I wasn't really happy with my result so I did it again and turned out like this: