

In this tut you are gonna learn how to make a Tech Sig.
Step 1 : Preparing
For this tut you will need Grunge, Abstract and Tech Brushes. I insist you download Big Brush 200 Tech Brushes. Otherwise any other pack is good
Step 2 : Getting Started
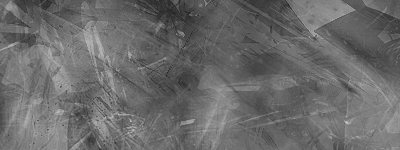
Make a new Document. For this tut i'm using 400x150. Go to Filter > Render > Cloud. Keep pressing it until you get something similar to this:

Step 3 : Brushing time!
Now get out your Grunge Brushes and start brushing over the louds. Remember, 1 Layer White and 1 Layer Black. Do a few layers! Now get out your Abstract and do the same as your abstract. You Should Have Something Similar to this:
Step 4 :The Render!!!
Now This is where your have to find a good Render for your sig. Normally for Tech sigs people usually use Robot Renders or Cars. In this case i'll use a robot. Google and Yahoo are you Best friends. Now you will have to cut out the render. You should have something like this:

Step 5 : Blending/Fading
Now make sure your render layer is select and then press Ctrl+U. Now we are going to reduce the color of the render so we can better blend in the render. Lower the Saturation to -50 or any other number you like. Now with the lasso tool. Just go around the render. Now Feather it 20px. Now go to Layer > Add Layer Mask > Reveal Selection. You Should have something like this:

Step 6 : Border!
Above all your other layers, make a new layer, press Ctrl-A and go in Edit---Stroke. make a 1px black border.
Step 7 : Tech Brushing
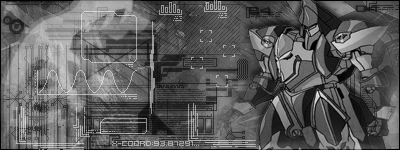
Now this is all you guys have been waiting for Tech Brushing. Get your Pack out and start brushing!! This is what it should look like
PS: I Changed the color of the robot so i can change it fully late.
Step 8 : The Final Stop
COLOUR & Text
Now go to Layer > New Adjustment Layer > Color Balance. Make sure it is above all your other layers. It should look something like this:
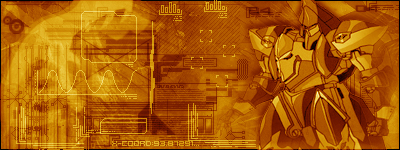
Now for the Text. I used 04B_03B for this Tut. Add some text and your Done!
Here is the final result:

