

Hi, in this tutorial I am going to learn you haw to make a sig like this:

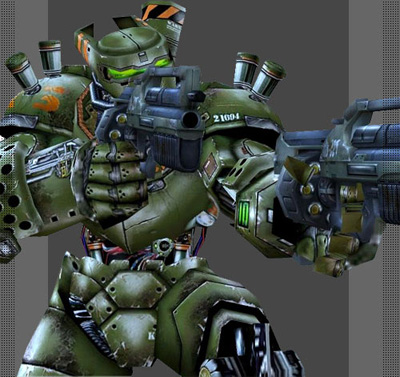
First you have to open a new document, I used 350x125. Then you open the render you will use, I used this one:
Now sharpen the render (Filter > Sharpen > sharpen) 1-4 times, and drag the render over into the sig canvas (do not resize it yet), and duplicate it one time and so you fill all the BG with it. It should look like this:
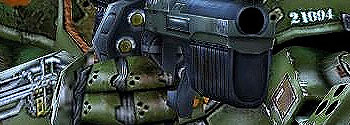
And then erase a little from the top layer with a 100px soft brush, and merge the layers (Ctrl+Shift+E) and it should look like this:
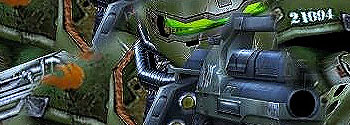
I know it looks like crap for the moment but wait and see. Now we will add some water paper 9Filter > Sketch > water paper) and should look like this:

Then we got a pretty good BG already but I will put an extra little touch on it to make it better, here we go: now duplicate the BG layer and make it mosaic (Filter > Pixelate > Mosaic) make the size around 10-19, then it looks crap again but change the mosaic layer to overlay, and sharpen it 2-4 times and it should look like this:

Cool, eh? Now we will add a little curve to make it brighter (Layer > New adjustment layer > Curves). I made my curve like this:

And the sig should look like this:

And finally you might add the render, after you have added the render select a soft brush with an low opacity and start removing a little of the mosaic around the render and fade the render a bit (like removing some parts of it). Now this should be the look:

Then you might add some patterns if you want. I added scanlines and faded them a bit. And it ended up like this:
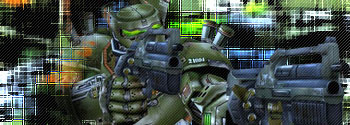
And guess what? We are soon done. We just needed to add a border and some text!!! If you don't know how to make a border this is the way: select all your sig (Ctrl+A) and make a new layer, go to Edit > Stroke, change to a color you want, make it 1px and click OK. Then you have done it!! I just made the layer to overlay to make it transparent, and added my text! Here is my result:
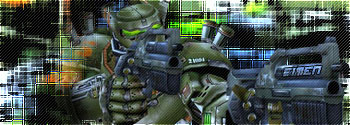
TATA, you are done!!!