


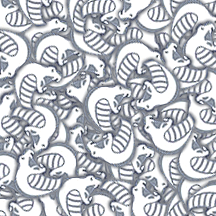
This tutorial will show you how to create seamless textures from an image. I will use the greycobra logo. This tutorial isn't about creating textures with white space for the repeat, it is about the harder to make textures that will fill the entire document without a background.
The thing about textures that are seamless is that even though they are seamless, they aren't perfect because you easily recognize where the seam is since everything repeats. Therefore, it is best to be making your textures larger, I tend to use anything higher then 200 by 200 pixels. For better results, feel free to use larger documents, or spend extra time making your document appear more realistic with the tools described in this lesson.
The techniques shown in this tutorial are used by professional photoshoppers who design textures for website backgrounds, desktop backgrounds, and general patterns.
Step 1
Find your source image. I will be using the greycobra logo.

Step 2
Fill your document so that it is the way you want it. I am only using one picture so it will be much easier. Copy your image that you will fill it with and "CTRL + V" to paste, then "CTRL + T" to rotate. If you are using a single picture, skip this step and go to Step 3.
Step 3
Find out your document size by going to "Image -> Canvas Size". Take special note of the width and height of your document. You may wish to record your documents dimensions elsewhere.
Step 4
First, Apply the image to a new layer by going to "Image -> Apply Image" enter hitting enter.
Go to "Filter -> Offset" and enter 1/2 of your canvas size for both the vertical and horizontal spaces. Since my canvas is 216 by 216, I used 108 and 108. Your document should now have seams in the middle.
Grab your slice tool and make sure there aren't any slices. If you grab your slice tool (The hotkey is "K") there should be no lines, and only a box in the top left with "01" on it and a little graph. If there are any slices, right click the blue one and hit "Delete Slice".
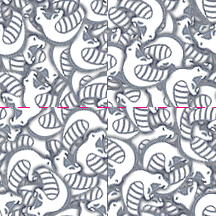
Now we need to remove the seam.
Step 5
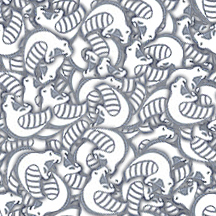
Remove the seam. We can do this in a number of different ways.
- Copy and paste
The copy and paste method is great for images that you've pasted and rotated to begin with. All it involves is pasting more of the image on to the seam until it disappears. Just make sure all the things you paste are at least a pixel away from the edges, or you will ruin the seamlessness.
- Healing Brush
The healing brush is better for busy images. "Alt + Left Click" to define a point and and then use it like a brush.
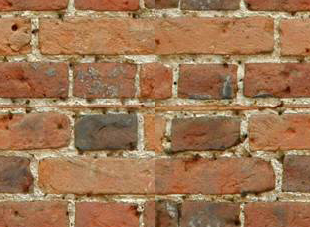
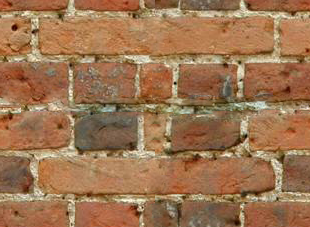
Brick texture with very apparent seams. After using the healing brush (or if you have experience with the clone tool, you may wish to use that instead), you can achieve a result like shown below.
Go to "Edit -> Define Pattern" and name it what you would like.
Finished!
To use your patterns either use the "Paint Bucket" tool on "Pattern" mode or go to "Layer -> New Fill Layer" and choose your pattern.
Good luck!