
In this tutorial you will learn how to have text follow a path in Adobe Photoshop! This technique will allow you to create text that follows a path you specify rather than a straight line.
This tutorial is only for Photoshop CS+. Any version prior to this does not have the easy capabilities for doing this. So make sure you have the right version before starting.
In this tutorial you will learn the basics for Text Pathing. It's a concept used allover and it's very easy to do.
Alright, now that that's said, let's begin.
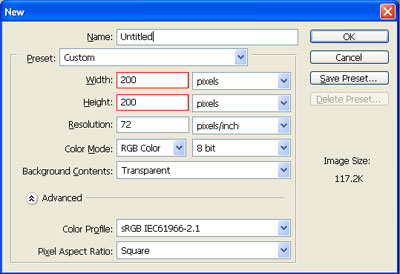
Step 1. Start out by opening up Photoshop and making a new image. Any settings will work but I used these.

Step 2. Find or make yourself a picture or image of anything to begin this tutorial. I used the greycobra logo for this tutorial.

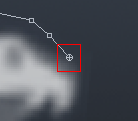
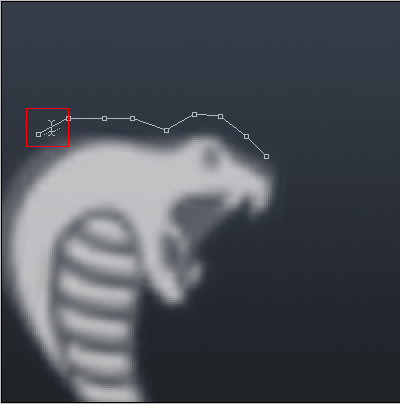
Step 3. Select the "Pen" tool
![]() and begin clicking the image to make points for the path we are making.
Make Sure that the Pen Path option is selected!
and begin clicking the image to make points for the path we are making.
Make Sure that the Pen Path option is selected!
![]()

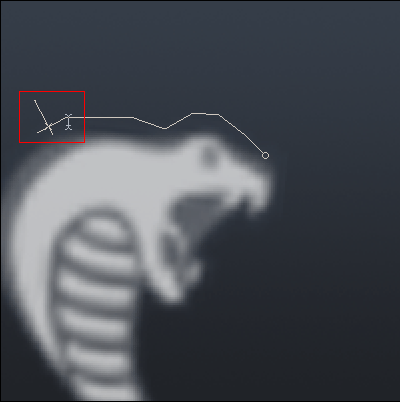
Don't worry if you mess up, it is possible to delete points.
To delete a point, just right click the point you do not want, and select "Delete Anchor Point".
And if you accidentally delete a point that you needed, you can always add another one by clicking the end of the path's circle point and clicking somewhere else to make the extra point.
Step 4. Select the "Text" tool
![]() and highlight the cursor over the path like so:
and highlight the cursor over the path like so:
See the sideways line under the cursor icon? That indicates that the text will be warped along a path. In this case, warped is a good thing. So now, with the "Text" tool still selected, click the path (doesn't matter where).
The text-writing line will appear and start to flash. Now begin typing! Your text will follow along the path until it reaches the end. Like so:

Fixing Size Errors
Oops! The path is too small and I don't want to shrink my font size! Luckily Photoshop has put their self in my shoes and made a magic "Direct Selection" Tool.
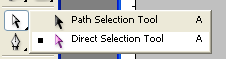
To select it, right click the "Path Selection" Tool, and then from the menu, select the "Direct Selection" Tool.
Now all you have to do is click the path so that the points will appear, then just drag and drop the points to somewhere else as needed.

Now doesn't that look better?
Some More Creations
I've added a few of my own little effects, and this is the final result:


And that's it! The end. Hopefully you'll now be able to make text on paths. This style of writing text can be used for many things like even outlining images with text.
Enjoy Text Pathing!