

Learn how to design a very basic Rounded content box interface.
Make a new document, 300x300 with a white background. Create a new layer, name it main. Make a selection.
Now click: Select->Modify->Smooth with these settings:
Sample Radius: 5
You now got a rounded selection. Fill it with light-gray. (I used #C7C7C7.)
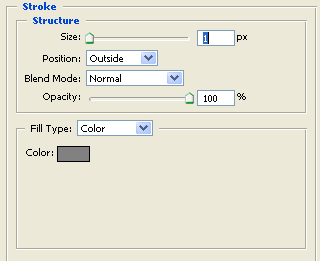
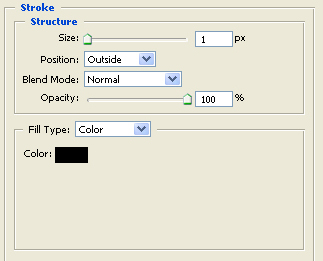
Now goto blending options and apply the following Stroke :
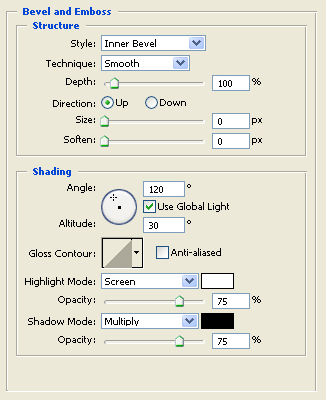
Still in blending options, apply the following Bevel and Emboss :
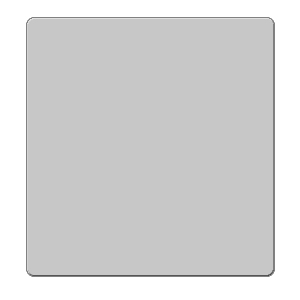
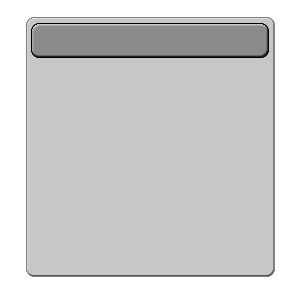
You now should have something like this:
Create a new layer, name it header. Draw another selection, at the top of your shape in the below layer. Make it rounded, just like the shape in the main layer. Fill it with a darker gray.
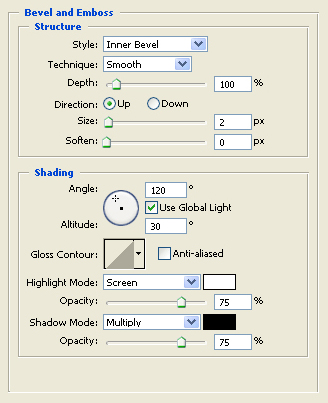
Goto blending options and apply the following options:
Your image should look similar to this, at this stage:
Now go back to the main layer. Make another rounded selection from just below the shape in the header layer until just above the end of the shape in this layer. Press delete.
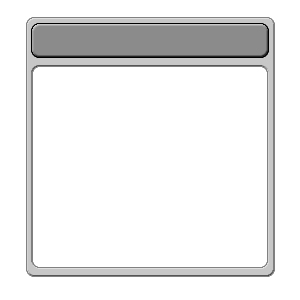
Your image should look similar to this now:
Now add in a few more blending options to the main layer, like drop shadow or inner shadow.
You are done!
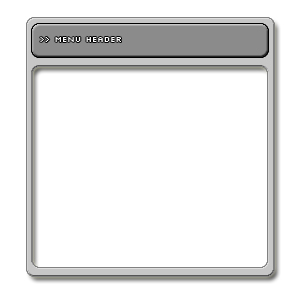
My results:
I hope you enjoyed reading this tutorial.