

Lets get started, first of all, make sure you have your template ready. If not, you should stop reading this because it would be no use to you. I also wanna thank AKPRO for the template. I did not make it, AK-Pro did, i am just using it. Once again thank you AK-Pro.
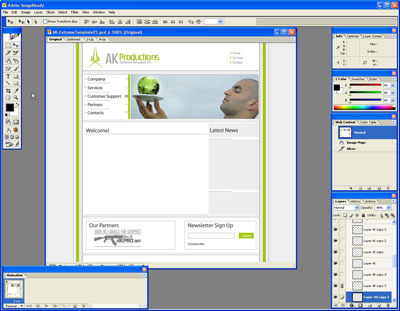
Open your PSD in Adobe Image-Ready.
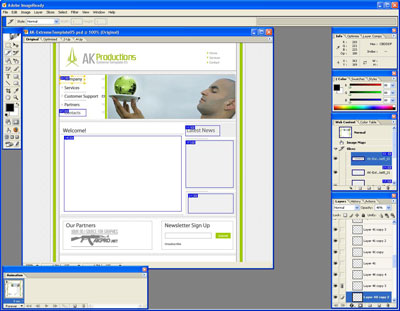
Grab the Slice Tool ( Press K on your keyboard)
Now with the Slice tool, select the images that are going to be either linked or used for background purposes.
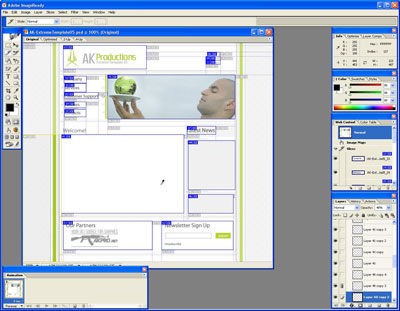
Once you get done with slicing, it should look something close to this
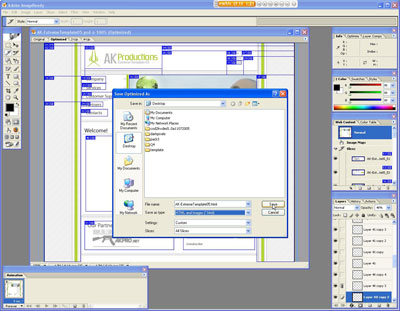
Now go to File, Save Optimized As.. and type in Index for name and Select HTML and Images, Press OK.
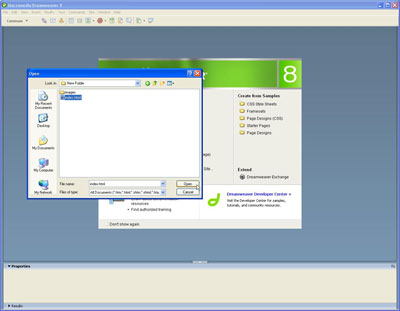
Now you should have an index.html and an images folder filled with images. Open your dreamweaver, go to File, Open and open up the index.html file.
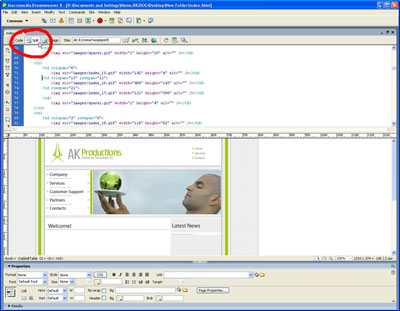
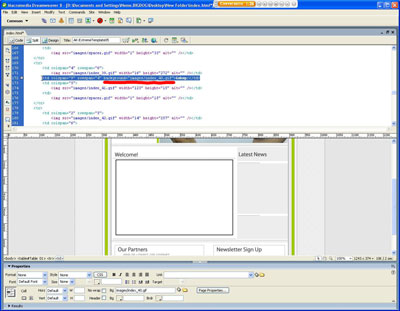
Once open, select the Split option on the top of dreamweaver so we can see the code and the site at the same time. Now, you must know the basics in HTML, or else this is going to be very hard for you!
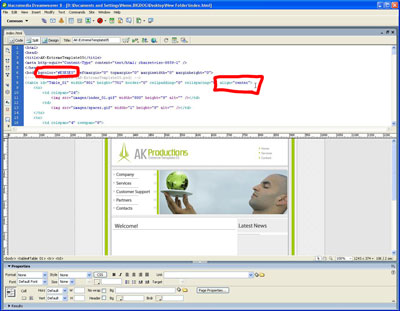
In the site i am working on, i am going to center it, and change the main background to light gray so it matches the sliced site
Now, lets make the content boxes be able to be written on.
Select your Content Box and get the name of the image, in my case, its "images/index_40.gif", now i delete the image by removing the <img src=images/index_40.gif> and go to the td tag and insert the image name with the attribute of background. so it should look like this, <td background="images/index_40.gif"></td>
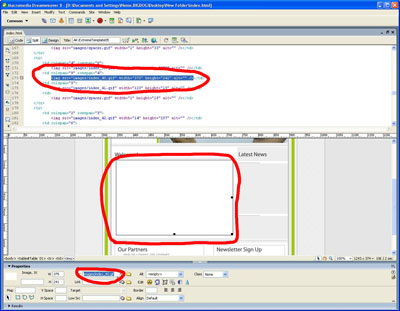
Simple, now your image is used as a background image, so you can type anything over it. Do that for all the images that are going to have text over it. Usually the Content boxes and Navigation areas. That's it.
Here is the link to the result
If you get lost, please post here and i will try to help you ASAP.