 |
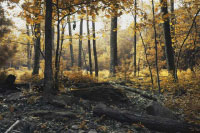
1. Open an image inside Paint Shop Pro. |
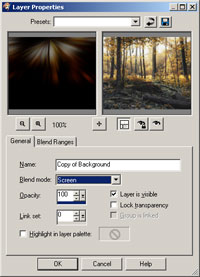
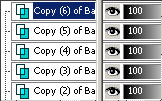
| 2. Duplicate the current layer (Layers> Duplicate). | |
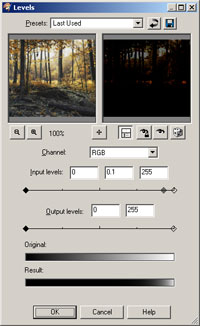 |
3. With the top layer selected, use the Levels tool (Adjust> Brightness and Contrast> Levels) to apply the following properties:
Channel: RGB Input levels: 0, 0.1, 255 Output levels: 0, 255 |
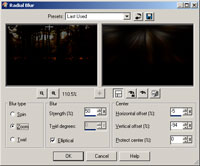 |
4. Apply a Radial Blur filter (Adjust> Blur> Radial Blur) with the following properties:
Blur type: Zoom
|
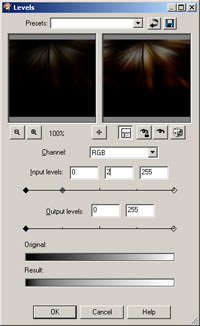 |
5. Use the Levels tool (Adjust> Brightness and Contrast> Levels) to apply the following properties:
Channel: RGB Input levels: 0, 2, 255 Output levels: 0, 255 |
 |
6. With the layer mask selected, use the Apply Image tool (Image> Apply Image) to apply the following properties:
Layer: Background Channel: RGB Invert Invert creates a negative image where the hue and lightness are reversed. The Invert tool may be accessed from Image> Adjustments> Invert or by pressing Ctrl+I.'); return false" href="javascript:void(0)">Invert: Checked Blending: Normal Opacity: 100% |
 |
7. Use the Brightness/Contrast
The Brightness/Contrast allows the user to adjust the brightness or contrast of an image. The Brightness/Contrast tool may be accessed from the Image> Adjustments> Brightness/Contrast tool (Image> Adjustments> Brightness/Contrast) to tweak the visiblity of the sepia effect. |
|
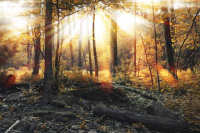
8. Rollover the image to see the original image without this effect applied. |
Her
Ray of Light
Added:May 05, 2006 Rating:

 Level: Experienced Software:
Paint Shop Pro
Level: Experienced Software:
Paint Shop Pro
Level: Experienced Software:
Paint Shop Pro