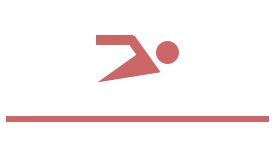
Start by typing "T" with arial bold font.

Press Ctrl+T and rotate to the right.

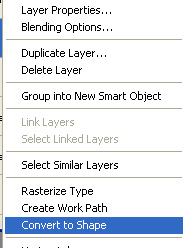
Right click the layer in layer palette and select convert to shape.
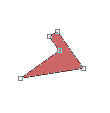
Select the shape using direct selection tool. Select delete anchor point tool and click to remove the nodes at the lower half.
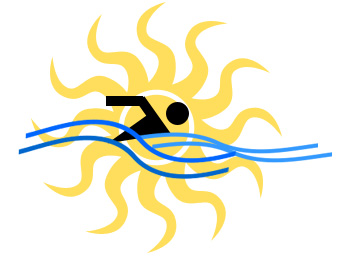
Create a circle for the head using elliptical shape tool.

Create a rectangle using rectangular shape tool.
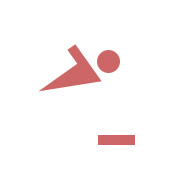
Place it for the lower arm.

Create a rectangle using rectangular shape tool.
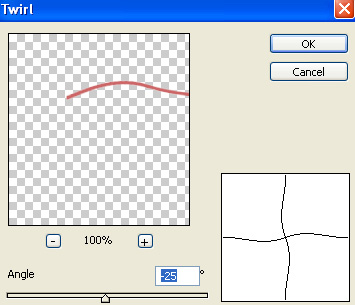
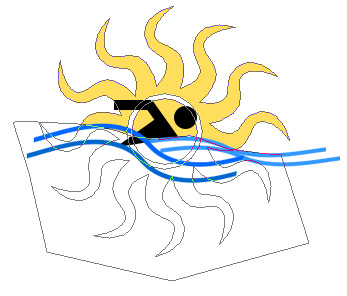
From filter menu select distort>>twirl. Apply settings as shown.
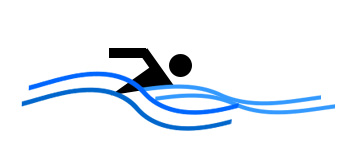
Create more such wave shape and fill with shades of blue.
Create a sun shape using custom shape tool.
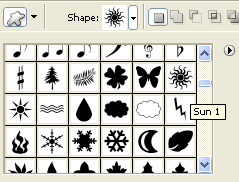
Move this layer behind all layers.
Enable subtract form shape area form the top bar. With pen tool draw random shape covering lower half of the sun.
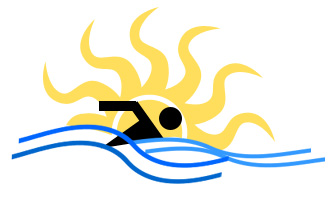
Select eraser tool and using a soft feathered brush setting erase the hard edges of water waves
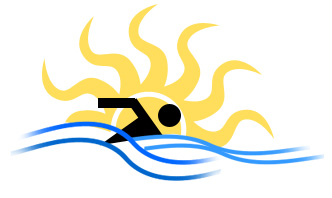
Type the resort name.
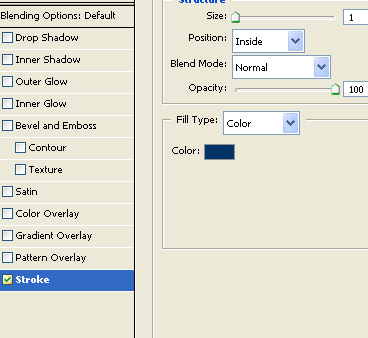
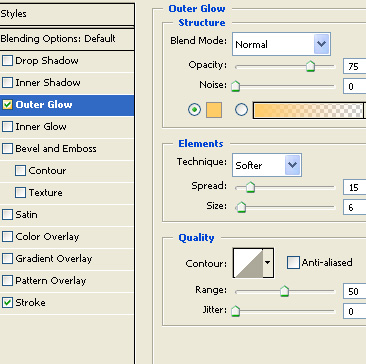
Double click the layer to open layer style window. Apply layer style with the settings shown.
Create a line divider and type the punch line below the resort name.