


Start by creating a new file of the banner size. Fill a solid background color.
![]()
Create a circle using elliptical shape tool.
![]()
Reduce the opacity to 25%.
![]()
Duplicate the circle and scale down.
![]()
Duplicate the circle and scale down again.
![]()
Create a target shape using custom shape tool.
![]()
Create a rounded rectangle using rounded rectangle shape tool.
![]()
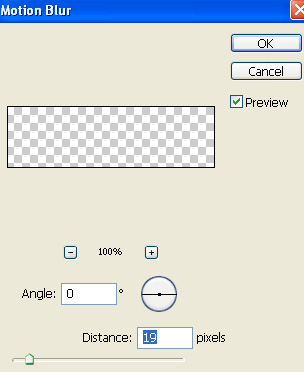
Create an arrow shape using custom shape tool.

Duplicate the layer. From filter menu select blur>>motion blur.
![]()
Type company name over the rounded rectangle. Apply stroke.
![]()
Type text details on right hand side in different layers.
![]()
![]()
![]()
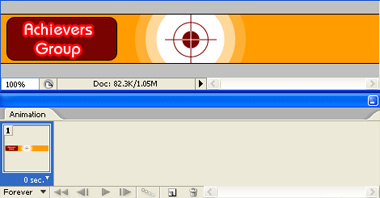
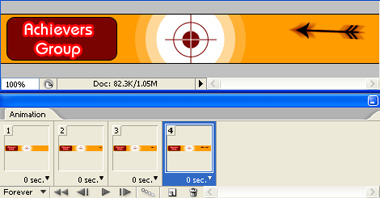
Open animation window. For the first frame keep the arrows and text details hidden.
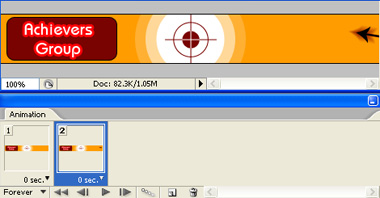
Duplicate frame. Keep the arrow layer and blurred arrow layer partially visible coming from the right side.
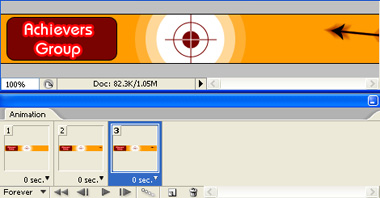
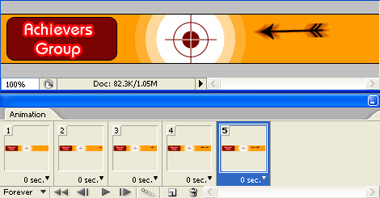
Duplicate frame. Move both arrow layers towards the target.
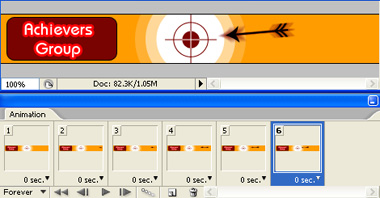
Duplicate frame and repeat the above steps till the arrow hit the target.
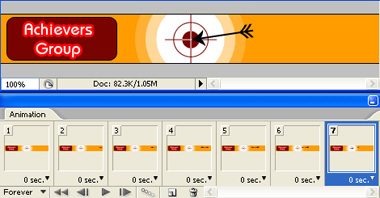
In seventh frame our arrow hits the target. Hide the blurred arrow layer.
Duplicate frame. Hide arrow layers. Let the text detail layers be visible one by one with each duplicate frame.
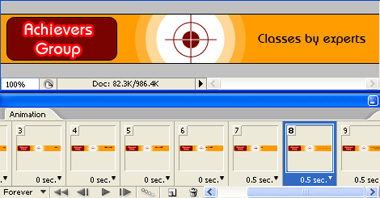

Press Ctrl+Alt+Shift+S to save an optimized animated GIF.
![]()