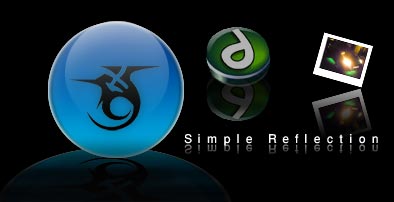
This tutorial will show you how to do a quick and simple reflection.
Step 1:
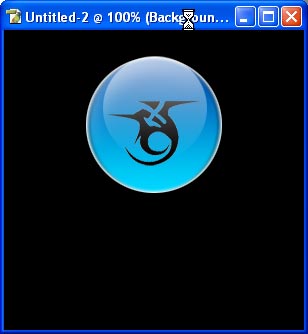
The image you wish to apply the reflection too, must be on its own layer. It usually works best when the layer has a transparent background. For this example we are going to use this orb.
Step 2:
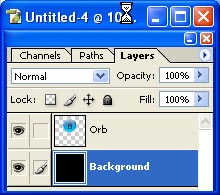
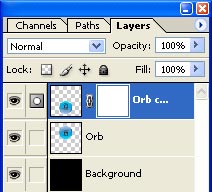
As you can see from the image below, we have our background layer, and then our orb on its own layer.
Step 3:
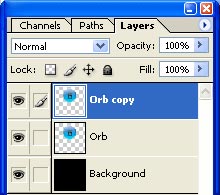
We must now duplicate the layer which contains our orb.
Step 4:
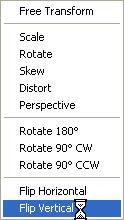
Now we must flip the new orb vertically, To do this we can press CTR+T then RIGHT CLICK on the orb on the canvas, this will open a menu up, select FLIP VERTICAL from there. Or you can go to EDIT > TRANSFORM > FLIP VERTICAL.
Step 5:
We now position the orb just below the original.
Step 6:
The next thing to do is apply a layer mask. Select the icon from the bottom of the layers pallet.
![]()
Step 7:
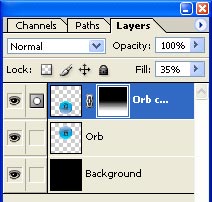
You should notice that the layer now has its layer mask visible on the layer pallet.
Step 8:
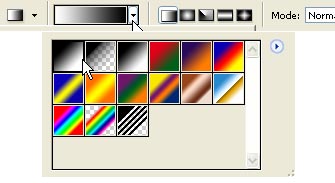
We now need the gradient tool.
![]() . We need white to black gradient. (as in the image below)
. We need white to black gradient. (as in the image below)
Step 9:
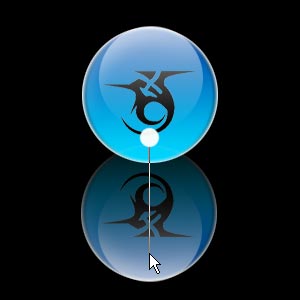
Starting from the white dot, draw you gradient down over to roughly where the cursor is in the image below.
Step 10:
If done correctly you should have some thing like the image below.

Step 11:
Set the fill level off this layer to around 35%
Step 12:
Here is our finished reflection. Using the same method you can also get some different results.

Step 13 :
For this effect i just used the gradient tool with a white to black gradient.

Step 14:
For this effect, I went to EDIT > TRANSFORM > PERSPECTIVE.

Step 15:
You don't have to stop with orbs the same effect should work with most images or text.