1. Start with a new Image of any size u want ( i prefer normal Sig size like 400-130 or 350-100),Press the D button to make the colors as default.
2. Go to Filter>Render>Clouds
3. Now Filter>Noise>Add Noise and use the following settings: - Amount 17% -Uniform -check Monochromatic
4. Filter>Stylize>Emboss with settings: -Angle 135° -Height 10 pixels -Amount 100%
5. Now go to Filter>Distort>Diffuse Glow and use this: -Graininess 10 -Glow Amount 7 -Clear Amount 17

6. Now Duplicate the background Layer Click your copied Layer, then Filter>Artistic>Palette Knife with settings: -Stroke Size 28 -Stroke Detail 3 -Softness 0
7. Set the layer opacity to 80%, then Merge both Layers (Ctrl+e)
8. Now go to Select>Color Range, in the window which opened click on the black image and try around ( change the Fuzziness to get different results)>then click OK.
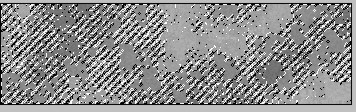
9. Create a new Layer NOW press Ctrl+Backspace , then Ctrl+a. Now u have your grunge background :). Now u can change all the colors by clicking ctrl+u and giving it a color. P. s. U may not get same Background like me, because its based on what u did at Color Range ;) This is my Finally Result.