Head over to here and get the faZe render, save it to your desktop then open it with photoshop.
1. Ok, so you've got it open with photoshop, now you want to make a really nice looking banner with it..
First select all of the render .png file (Ctrl+A) and copy it (Ctrl+C) now make a new document at the size of the banner you want. I'll use 500 x 130 for this tutorial.
2. Have the background for the new document as black and paste the render in (Ctrl+v) Now since the render is more vertical than horizontal, flip it 90CW (Edit > Transform > Rotate 90CW). Now move it into place
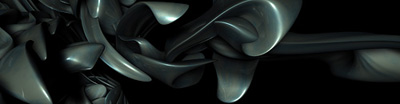
3. Now duplicate the render layer and move it down 10 pixels (Shift+Down arrow,) then set the layer mode to lighten
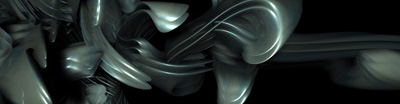
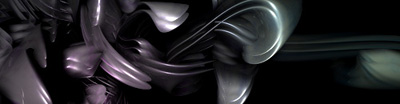
4. Now make a Brightness/Contrast layer (Layer > New Adjustment Layer > Brightness/Contrast) use the settings
(Brightness +5)
(Contrast +15)
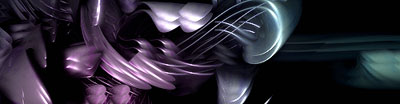
5. To add a cool bit of pink color to it, make a new layer under the Brightness/Contrast layer and get the Gradient tool out.
Set your foreground color to #E714D6, now make a circular gradient at the bottom left
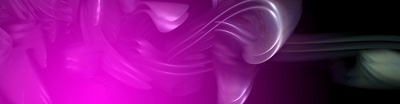
Then set the blending mode to Hue
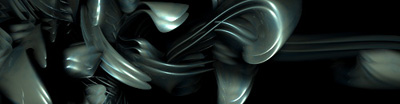
6. Now you could get some pretty nice looks by adding different Adjustment Layers
With PS CS 2 you can make 'Photo Filter' adjustment layers which are pretty nifty
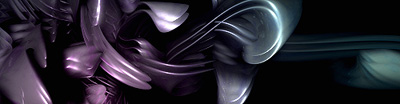
(sharpened 50%)
7. So above is 50% sharpened right. Follow these shortcuts.
(Ctrl+A) Select all
(Ctrl+Shift+C) Copy everything visible
(Ctrl+v) Pastes
Now duplicate the layer you've got and apply Filter > Sharpen > Sharpen now set the layer opacity to like 50% and merge them..
You could now duplicate the one layer you've got and move it about 20 pixels to the right, delete some with the polygonal lasso tool and set the layer mode to Lighten!