1. New Canvas
Make a new document, and size, i used 300 x 180 72 resolution/dpi
Then fill the document with #15537B
2. New Layer and Pen Tool
Make a new layer and get the pen tool
![]()
And make sure these options are set:
![]()
Now click anywhere in the document, then click again somewhere, while holding your click down move your mouse downwards or around to make curved edges, do this randomly and then click back to your first point to end it
3. Select and fill
With your pen tool still out right-click the 'selection' and go 'Make Selection'
Feather: 0
Anti-Aliased: Yes
Operation: Mew Selection
Now its a regular selection fill it with #FFFFFF

3. Perspective etc.
With the logo layer selected hold CTRL and press T, this will go to the transform state.
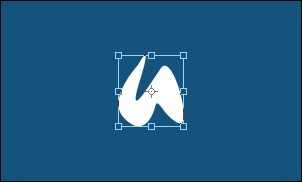
Right-click the logo area and select 'Perspective'
Now click the upper right corner dot and drag it inwards just a little.

Get the move tool
![]()
Hold alt and press the down arrow key 10 times, then merge all the new layers together, not the first one
Move the big layer under the original

4. Color overlay
Go into the blending options for the layer under the original logo layer and goto Color Overlay, use the color #DEDEDE

5. Details
Make a new layer above the 'shadow' layer and merge the two layers together, so the Color Overlay is no longer there.
Now use the burn tool to make some details

6. Reflection
Now merge the 2 logo layers together then duplicate the layer, flip it vertically ( Edit > Transform > Flip Vertically )and put it just 2px underneath the original

Set the layer mode to Soft Light and layer opacity to 30%
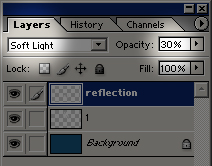
Then erase the bottom part of the reflection part