

This is the finished product from this tutorial:

I am going to show step by step how to do it.
First, create a new layer, call it "body", with the rectangular marquee tool (M), make a selection and fill it with black.

Now let's apply some styles to it.
Right click of the mouse on the body layer, and choose "Blending Options..."
Apply the following styles:
Your image should look like this now.

Now you will have to create a "scanlines" effect. The following image is only illustrative.
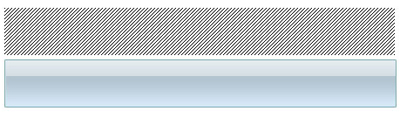
How to make those scanlines? To make them, zoom in your image in a white area (Zoom Tool, press Z), and fill with black 4 pixels in a diagonal, just like the picture.

Now, turn off, (by clicking on the small eye on the left of it) the Background white layer, so the background is transparent now.
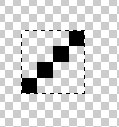
Select the area around the 4 painted pixels, like the picture above, and go to Edit > Define Pattern, choose a nice name to your pattern.
Now ctrl+click the "body" layer to get it's selection. Create a new layer above it, call it "scanlines" and when filling the layer, Edit > Fill, choose "Pattern", and choose your new pattern.
Change the scanline layer mode to overlay and it's opacity to 21%
Your image is almost done now!

You just have to add some text (Horizontal type tool, press T).
I used the Blue Highway font, size 21, "smooth", and with the color #447494.
We are done!
I hope that you enjoyed the tutorial.