


This is the finished product from this tutorial.
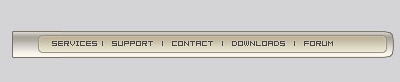
I am going to show step by step how to do it.
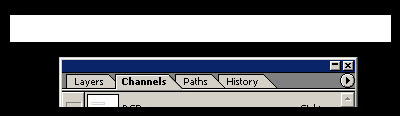
First with the rectangular marquee tool (M), and on the Channels Tab, create a new channel, then create an area and fill it with white, then deselect it (ctrl+d).
Still on the "Channels" go to Filter > Blur > Gaussian Blur, I used 3.3 pixels. Now go to Image >
Adjust Levels and make the levels to the center, as this picture:
Look at the arrows in the center, you'll see that your image is "unblurring" while you move the arrows.
Now, ctrl+click the channel you created and move to the normal layers tab.

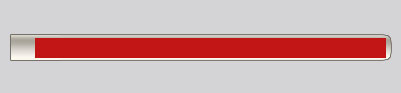
Create a new layer, call it "body", and fill the selection you got on your channel (alt+f).
After that, it will look like the image above. Then again with the Rectangular Marquee Tool (M), select the left part of the shape and erase it.
Now your shape is done, let's work on it. Right+click on the body layer and go to Blending Options.
Check Gradient Overlay, and use this settings:

And on the stroke settings, use:
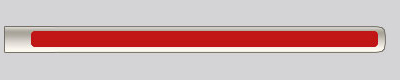
The body's style is done. Now create a new layer, and with the Rectangular Marquee Tool, create a selection and fill it with any color, I used red, just as the image below.
Make this selection soft, using the same steps we used previously (Fill it on the channels, blur it then adjust the levels). Here's our shape again:
Now let's work on it, on this new layer, go to Blending Options. Add a gradient overlay like the picture:
Also, a stroke:
Now it's just adding your text and our menu is done! I used the color #484540 for the text and the pixel font "04b08", also you can add an outer glow style to the text's layer (on the blending options)
We are done!
I hope that you enjoyed the tutorial.