

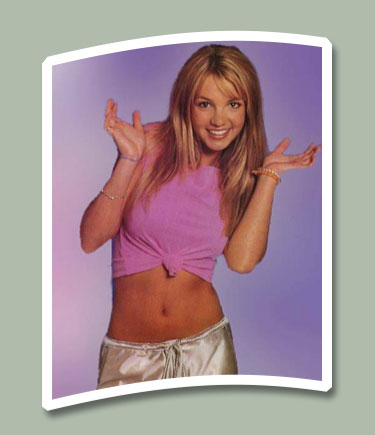
This is the finished product from this tutorial:
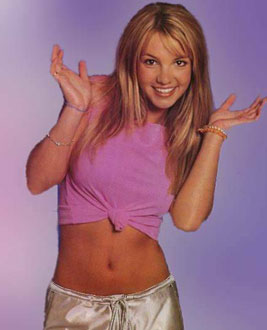
I am going to show step by step how to do it. There's the original pic for this tutorial, cute sexy Britney Spears.
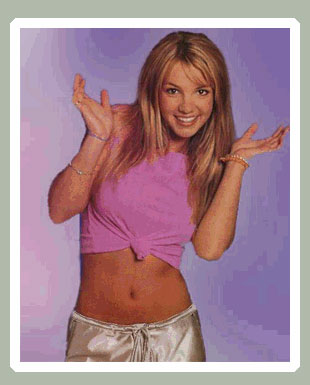
Create a new file, about 900x900 px and paste this picture there. Ctrl+click the picture's layer (to get it selection). Then go to Select > Modify > Expand, use 10 px. Now create a new layer below the picture's layer and fill it with white color (alt+f) Your picture is looking like this now.
Now merge the white and the picture layer by linking it (picture) then go to Layer > Merge Linked (Ctrl+E) Now go to Edit > Transform > Rotate 90 CW. Then go to Filter > Distort > Shear. Use the following settings:
![]()
Now go to Edit > Transform > Rotate 90 CCW. Now you can simply add a Drop Shadow style, clicking with the right button on the layer and going to blending options, I used the following settings:
You are done!
I hope that you liked this tutorial, it's principles can be used to make a lot of nice effects to your pictures! Thanks.