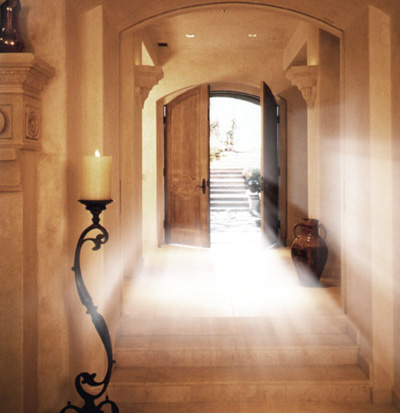
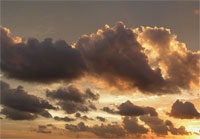
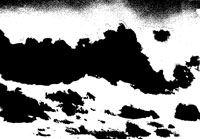
To start off, we need an image that has some gap or spaces where lights normally pass through, such as a window, clouds, or hallway. In my image to the left, I will create a ray that will pass through the hole in the cliffs.
If you want to try this tutorial on this image, you can download it here.
First off, we need to duplicate the original layer, one of the ways to do this is right click the layer in the layers palette and select "Duplicate Layer"
.jpg)
We will now work with the duplicate layer, so select the duplicate layer as the working layer in the layers palette, then go to Image->Adjustments->Threshold
Set the Threshold level to about 100
Now go to Filter->Blur->Radial Blur
Set amount to: 100, Method: Zoom, and Quality: Best
Then move your cursor over to the "Blur Center", then click and drag its center point to the upper left corner.
Note: Where you drag this will depend on your image and depend on where you want the source of light to come from.

Now set the layer's blending mode to "Lighten" or "Screen" and change the opacity to around "60%"
Then use the eraser tool with the soft brush (size 150px soft brush) and erase out part of the layer where obviously light is not passing through.
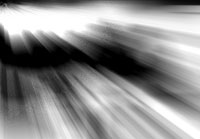
That's it!
Result

Here's a few before and after images. (Rollover to see the before image)