
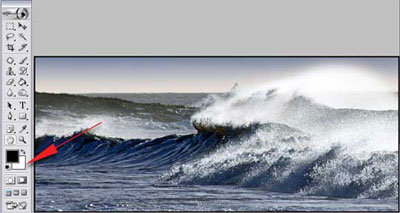
After we have finished our image how about setting it off with a nice border and frame

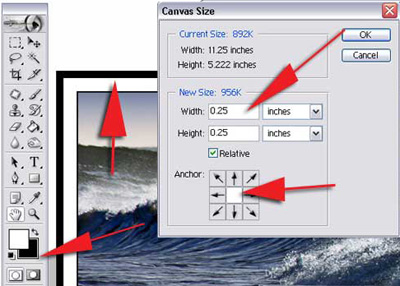
To start off we need to add our border. From the image menu select Canvas Size and increase the width and height by the amount you wish to add to your border.

Before we start we need to ensure that the colour of the border we want is selected as the background colour in the toolbox, in this case White. If you're using Photoshop 7 there is a neat new trick, simply tick the Relative box and add the amounts we wish to add for our border, in this case 0.5 inch was added to both the width and height. The important thing to remember is to tick the center square on the Anchor diagram -- this will ensure that our border is placed evenly around the image.
Now to add the framework to our border and image - change the background colour in the toolbox to the colour required for the frame, in this case Black. This can easily be done by hitting X on the keyboard. We now need to repeat the process using the canvas size palette but this time increasing the canvas size by 0.25 of an inch
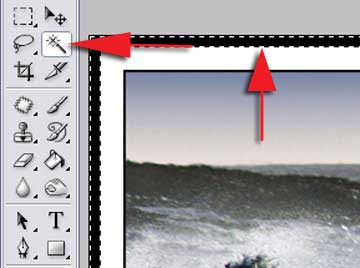
Selecting the Wand tool from the toolbox select the black area and a double row of marching ants will appear.
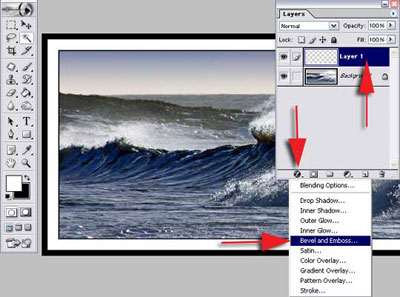
We now need to copy our selection to a new layer. This can easily be done by using the shortcut Ctrl J - by default the new layer is called Layer 1. To apply a 3-D effect to our framework click on the layer's style icon on the bottom of the layers palette and select Bevel and Emboss from the drop down menu
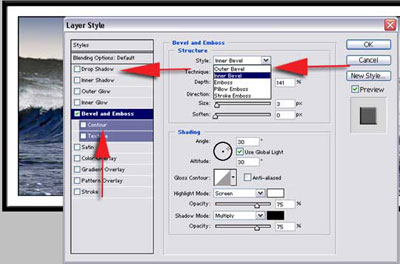
We can change the amount of Bevel to our framework by selecting different styles from the Style drop-down menu... here we choose Inner Bevel. It is also worth experimenting with the size and Contour settings. To give it a little bit more depth we can also apply Drop Shadow by clicking on the drop Shadow on the styles list. Don't forget to match the direction of the drop shadow with the lighting in the image.
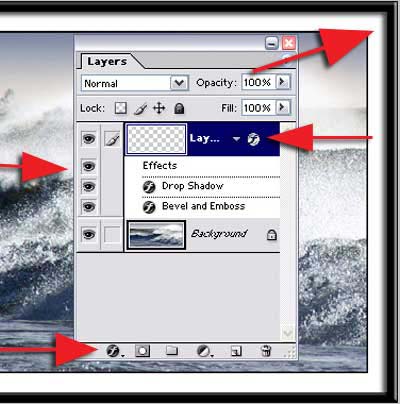
Once we are happy with our framework click OK. The layers style is shown as Effects under Layer 1 and lists the styles we have added. An icon is added matching the icon on the bottom of the layers palette to show that layer styles have been used on this layer.
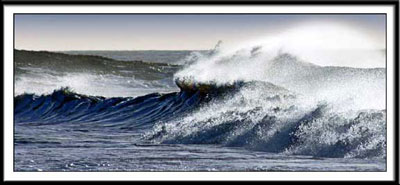
The finished image with our new border and frame