

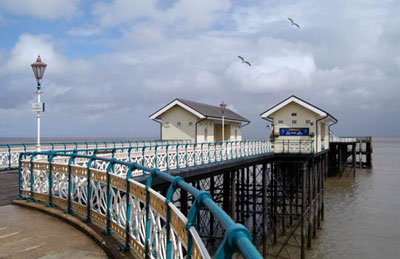
There is nothing worse than an over sharpened image... especially when you see the green lines around the edges. Have you tried using the USM (unsharp mask) in the Lab colour? - it really does produce good results.
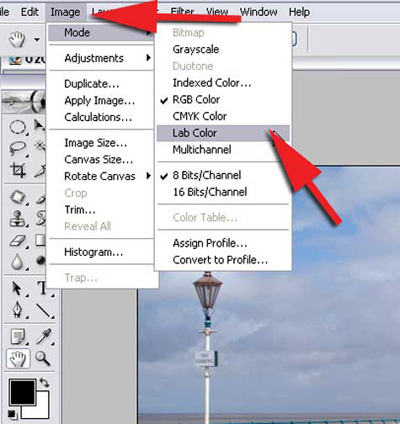
Our first task is to convert our image to Lab Colour. Image > Mode > Lab Colour.
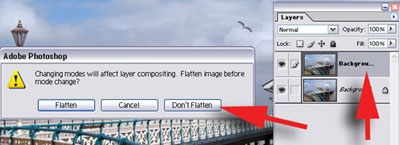
If you are working in layers you will be asked if you want to Flatten your image before converting to Lab Colour. Clicking 'Don't Flatten' will allow us to continue working in layers if required.
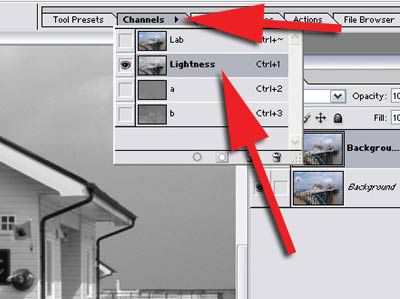
Call up the Channels palette and click on Lightness. Our image will now appear in back and white - monochrome.
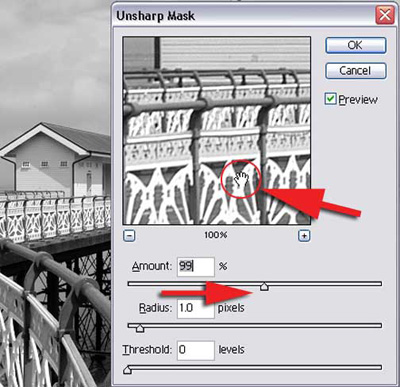
From the filter menu we can now select the Unsharp Mask. Filter > Sharpen > Unsharp Mask. Set the Radius to 1.0 and the Threshold to 0. Now moving the 'Amount' slider slowly to the right we can increase the extent to which our image is sharpened. Clicking in the preview window will show us the changes we are making to our image. Be careful not to over sharp as we want to keep our image looking realistic.
Once happy click 'OK' and click on the Lab layer in the Channel Palette to restore our image to colour. Don't forget we then need to restore our image to RGB using the Image > Mode > RGB
The USM does not actually sharpen our image. What it is doing is increasing the contrast between pixels.
 |
 |
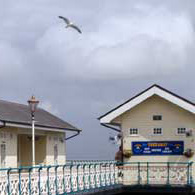
| Before | After |
