


1. Create a photoshop document about 500 - 500 width with a Transparent Background
2. Now select the Text tool and now select a text to use for this tutorial as shown below.

3. Now give your text a nice color i have decided to use a greenish color the code is shown here - #81CA02
4. Now goto Layer - Layer Style - Blending Options as shown below.
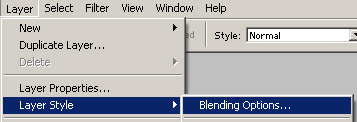
Now after click this a box should appear with a wide selection of settings such as Inner Glow And Inner Shadow you want to click on
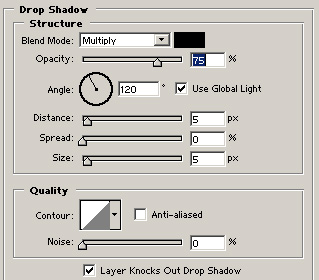
This is the beginning of adding these settings this might mean you wont be able to see these settings added but this is what it should look like below :
![]()
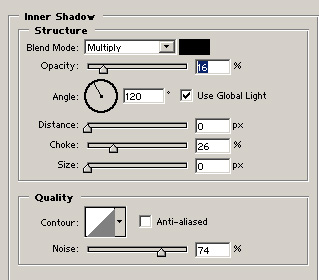
Now your text is starting to take some shape this is what your text image should start to look like below :
![]()
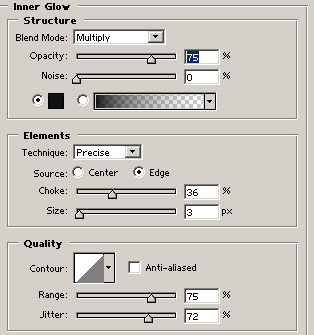
Now its starting to take shape and you can start to see all these settings make it evolve into something better as shown below :
![]()
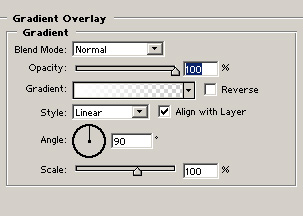
These setting differ on your foreground and background these are my settings for this part of the gradient overlay. - Foreground #FFFFFF - Background #5F6565 Now you should have something that looks like mine below.
![]()
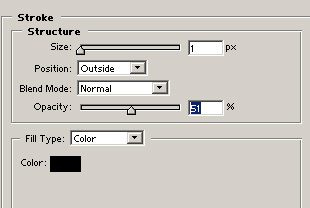
And this the end of our nice little tutorial.
![]()