

Open the picture that you would like to use for this tutorial.
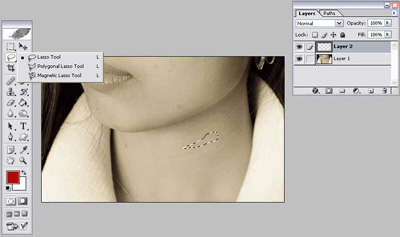
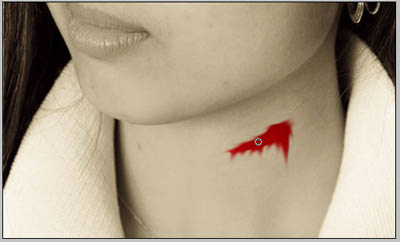
Open your layers palette from Window > Layers and create a second layer. Now take your Lasso tool and make a circular outline of where you want the blood to be as displayed on the image.
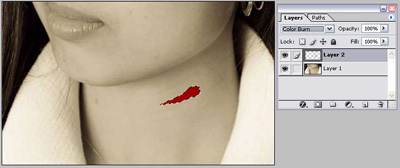
Fill the area selected with the lasso in a dark red color and select the layer as Color Burn on your layers palette. Deselect the selected area if you haven't done so yet.
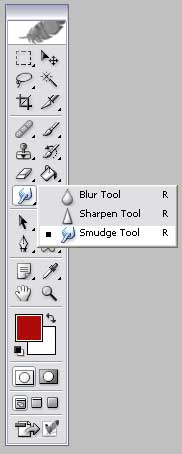
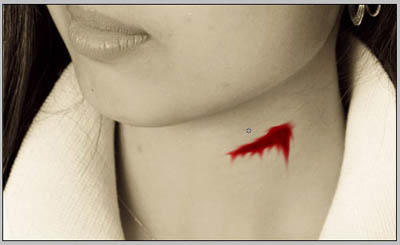
Now head over to your Tool bar and pick the smudge tool. Be sure the brush size for it is rather small.
With the smudge tool, smudge the blood down until it looks closer to being realistic.
Select the Burn tool, located to the right of the smudge tool on your Tool bar.
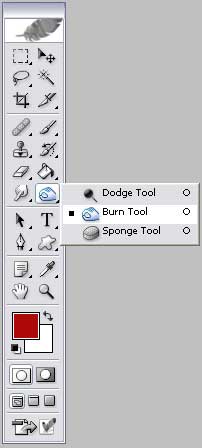
With the burn tool, deepen the blood wound by making it darker on the critical spots which should be the middle. Take a look at my image to see how I did it.
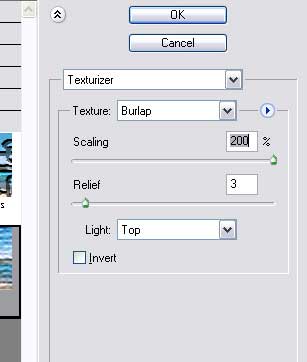
Finally, go to Filter > Texture > Texturize. Once the box opens up, select Burlap for your Texture. Scale it to 200%. Give it a Relief of 2 or 3. Now press OK and you are done!
Take a look at the final product. Not bad huh?
