Step 1
Reset your colors then open a new document
Width: 400 Pixels
Height: 400 Pixels
Background: Background Color(should be black)
Step 2
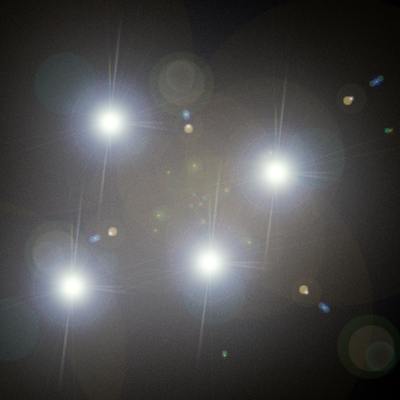
Now we are going to use the popular lens flare to make something like what we've got below. Use the following settings:
Brightness: 100%
Lens Type: 105mm Prime
Flare Center: Move the flare around by clicking on the thumbnail, position them to look roughly like what we have got below
You have to go to the lens flare filter every time you want to create a new flare. You will need to do it 4 times. This is what yours should look like after applying the filter 4 times.
Step 3
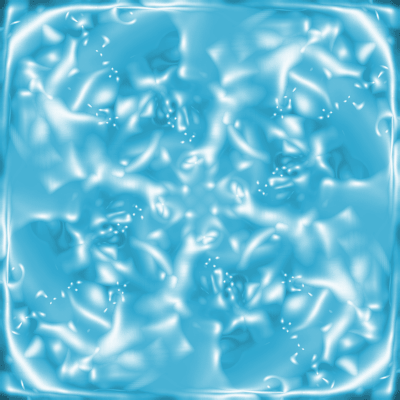
We are now going to use the trusty combination of the chrome filter now.
Detail: 4
Smoothness: 6
It should now look something like what we've got below except bigger of course.

Step 4
Bring up the hue/saturation box to get some color to this thing.
Colorize Box: Checked
Hue: 193
Saturation: 62
Lightness: 0
Step 5
Duplicate this layer then change the new layer's blending mode to Lighten. Now lets rotate this image 90° clockwise.
Repeat this step 2 more times, you shouldn't have to change the blending mode because it should already be at Lighten, but if it isn't then change the new layer's blending modes to lighten.
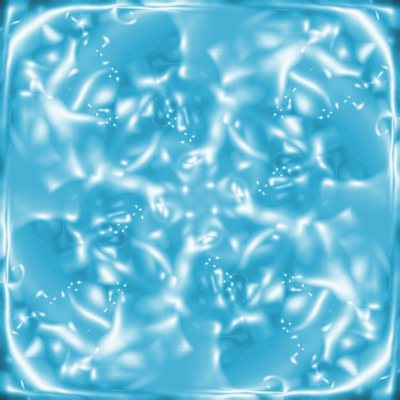
This should be what your image looks like now.
Step 6
Now open up Adobe ImageReady to animate this thing.
Step 7
You should now be in Adobe ImageReady. Merge the visible layers in here.
Find the animation properties then create a new frame.
Step 8
Locate the Layers palette then click on the "Background" layer (should be the first layer). Select All then copy, now move up to "Layer 1" (this layer should be blank).
Now paste your selection you just made.
Step 9
Now go back to Adobe Photoshop and it should be synchronized with Adobe ImageReady. Now while you are in Adobe Photoshop we are going to use the pinch filter then press okay without touching the settings.
Step 10
Switch back to Adobe ImageReady now. Find the tween button
![]()
and use these settings:
Tween With: Previous Frame
Frames to Add: 5
Layers: All Layers
Parameters: Position, Opacity, and Effects Checked
Then to save your image!
Final Product
And there you have it a heartbeat sort of image. Below is our final product.