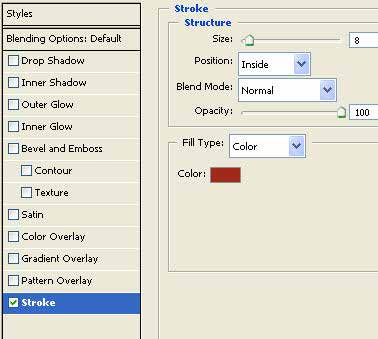
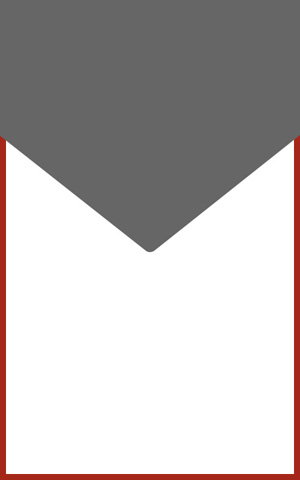
Start by creating a new file of the flyer size. Double click the background layer in layer palette to unflatten it. Double click the layer to open layer style window. Apply settings as shown.
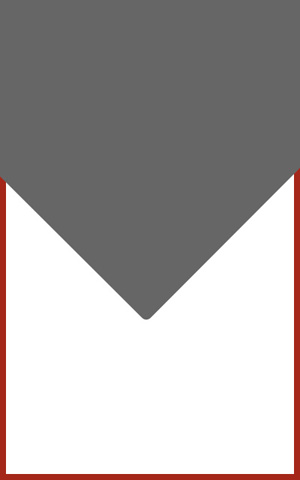
Using custom shape tool create a sign 2 shape big enough to cover the width of the flyer.

Press Ctrl+T. Right click and select Flip Vertical and place as shown.
Press Ctrl+T and scale down the shape vertically.
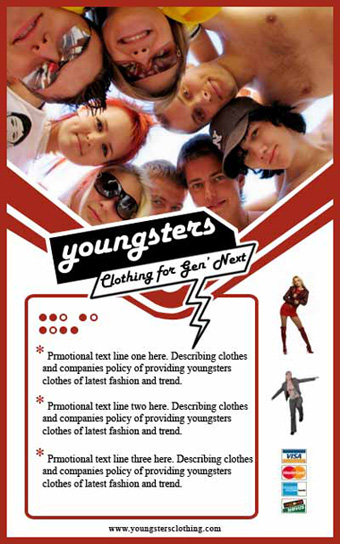
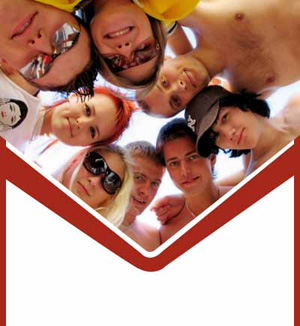
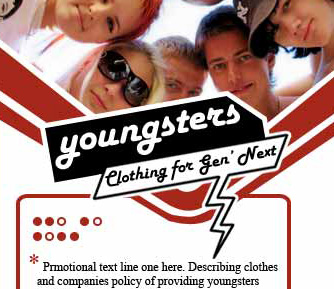
Insert an image of trendy youngsters.

Press Ctrl+Alt+G to create a clipping mask.

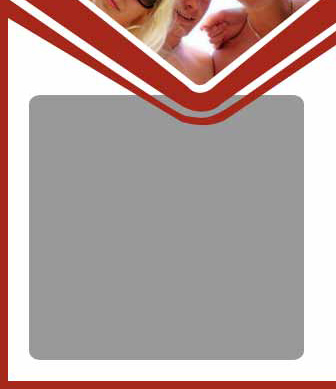
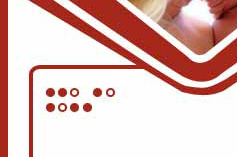
Using pen tool create a shape as shown. Fill with the stroke color we used for the background layer.
Similarly create another shape below the first one.

Create a rounded rectangle using rounded rectangle shape tool. Move this layer below the shape layers in layer order in layer palette.
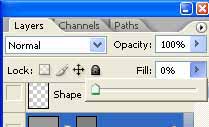
In layer palette reduce the fill value of this layer to zero.

From layer menu select layer style>>create layers. Select and merge both the resulting layers. Using eraser too delete the intersecting area of the stroke with shapes.

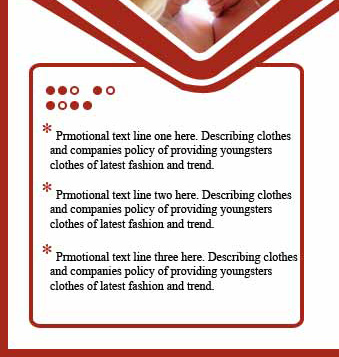
In this content box create a pattern of filled and stroked tiny circles using ellipse tool.
Type the content in the content box.
Insert brand logo and place as shown.
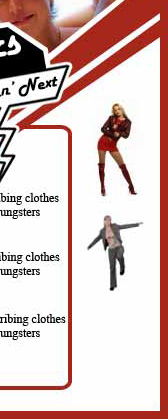
Insert a few cutouts of models sporting trendy clothes. Place the cutouts on right side empty space.
Insert credit cards logos and company url at the bottom of the flyer.

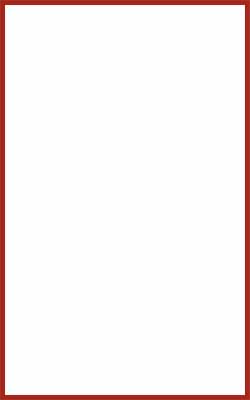
Select background layer. From layer menu select layer style>>create layers. This will separate out the stroke layer. Move this stroke layer to the top in layer palette.