


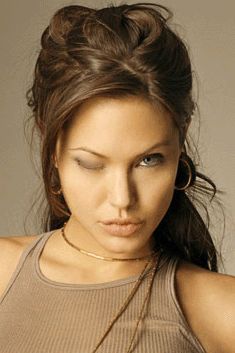
Now we are going to create an animated winking picture. I took Angelina Jolie's photo. It's a cool effect that adds some animation to your photo album and great for impressing your family and friends. In this lesson i wrote every single step to make it easy to understand. You need to have Photoshop CS or CS2 for that lesson.
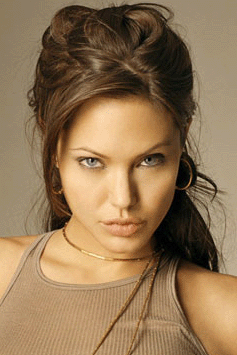
Open any photo in Photoshop. Take a picture where you can see eyes clearly :0) The first thing is to save our picture as 1.gif: File-Save As .
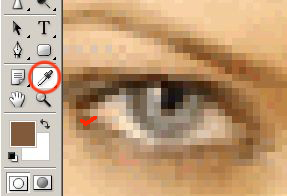
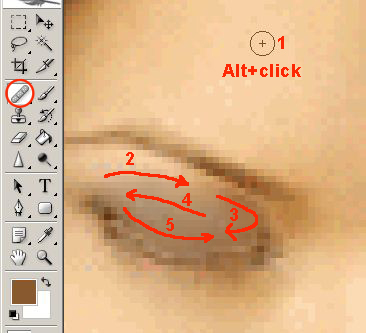
Now we gonna make lower eyelashes a little bit darker- it'll make closed eye more realistic. Zoom in, take eyedropper tool and click somewhere on the eyelashes:
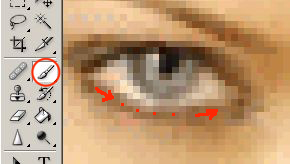
Take brush tool and in it's options change mode to Darken, size 1 pixel, and Opacity about 50%:
![]()
and make lower eyelashes darker:
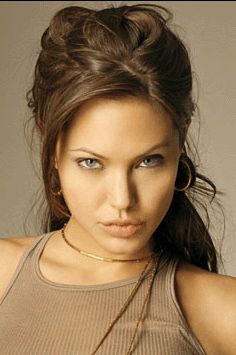
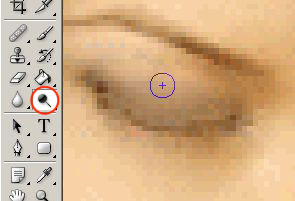
Take Healing Brush. Hold Alt on your keyboard and click somewhere on the forehead (where the 1 is) , to get the skin sample for the eye. Go ahead and cover the eye with the skin. Make it in a few steps for better results. If you don't like what you get, choose Edit-Step Backward:
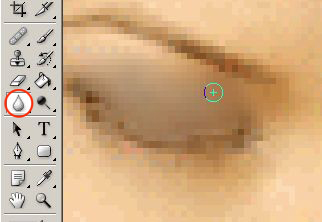
If your upper eyelid is darker than you want, take Dodge tool
![]() and set it's options:
and set it's options:

and make eyelid lighter:
To make eyelid look more realistic, use Blur tool:
You should get something like that:
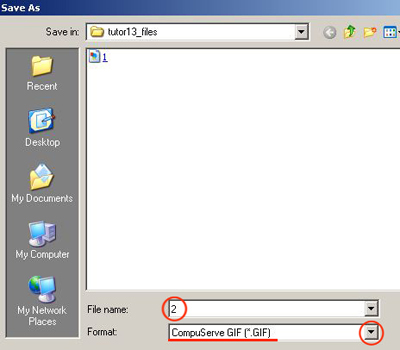
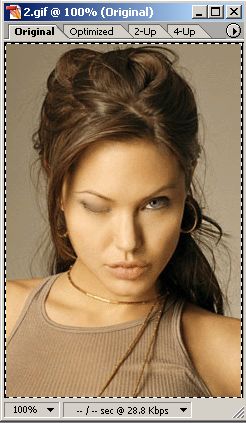
Name a new picture as 2 and save it in gif format:
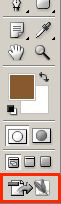
Did you know that there is Photoshop's younger sister living in your computer? It's called Adobe Image Ready. To start Image Ready, click on it's icon in the bottom of the tool's window.
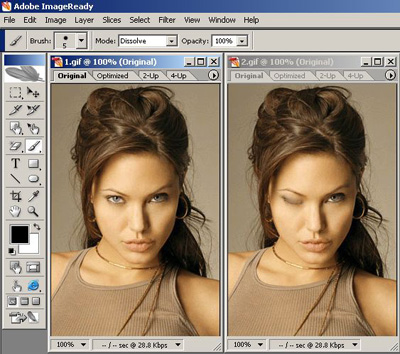
Go to File-Open and open both of our files:
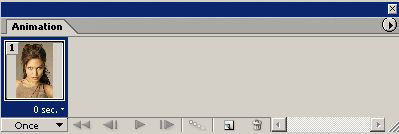
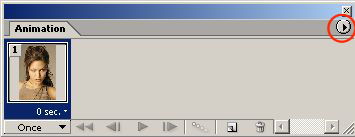
If you don't see animation window, go to Window-Amimation:
Click on image 2 to activate it and choose Select-All:
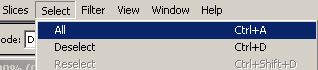
Now it's all selected:
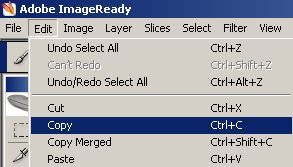
Copy it: Edit-Copy.
Click on image number 1 to activate it, and paste previous picture into that: Edit-Paste:

Now we see two pictures with closed eye. It's ok because the first one consists of two layers now- one original and one with closed eyes.:-)
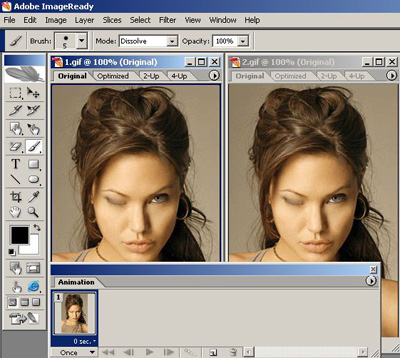
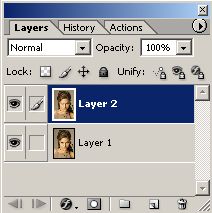
Just make sure that we have two layers in the first file. If you don't see layers window, open it: Window-Layers.
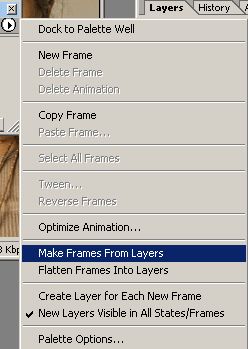
Now the most interesting part starts! In the animation window click on the indicated triangle:
In the drop-down menu choose Make Frames From Layers:
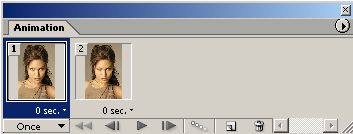
The second frame appears in the animation window:
Now we have to choose a delay time. Choose 1 second for the frame with opened eyes, and 0.2 seconds for the second frame, and set animation mode to Forever:
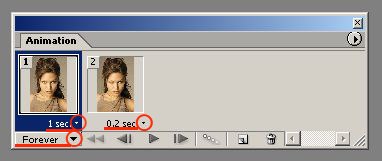
All you have to do is to click Play:
![]()
Here is our result:
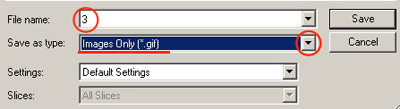
Save your animated picture: File-Save Optimized As:

and choose gif format:
Have a good animation!