

Result:
Create a new file in Adobe Photoshop. My size is 300x300 pixels. Fill it with black.

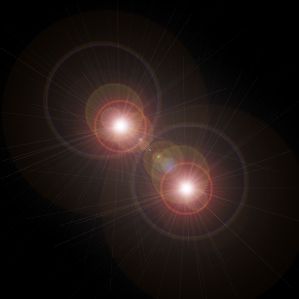
Filter-Render-Lens Flare, and do it twice, just move second flare a little bit:
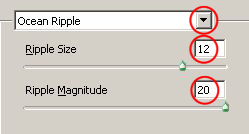
Now choose Filter-Distort-Ocean Ripple with these settings:
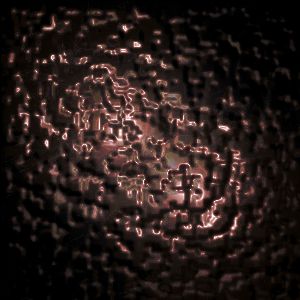
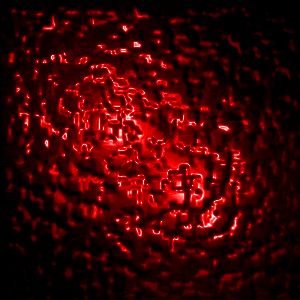
You should get something like that:
Colorize your picture: Image-Adjustments-Hue/Saturation.
Don't forget to activate Colorize!
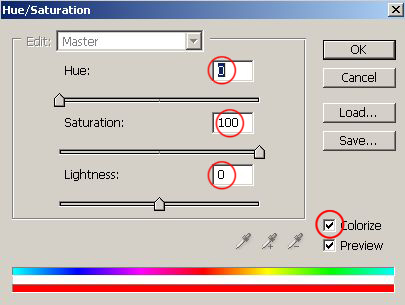
I chose red:
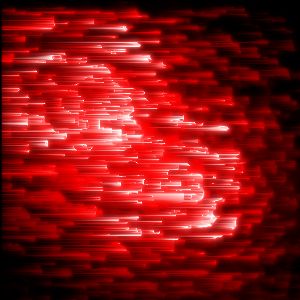
Add a wind effect: Filter-Stylize-Wind and choose direction from the right:
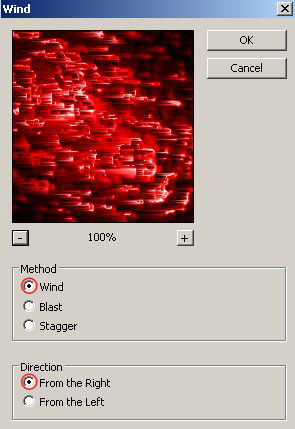
Repeat this filter one more time with the same settings:

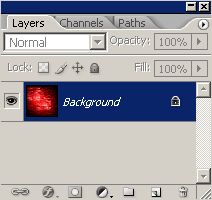
Duplicate our layer: Layer-Duplicate layer.
In layer window change duplicate layer's mode to Screen. If you don't see layer window, press F7.

Our picture has been changed:
Layer-Merge Visible. In layer window you will see only one layer:
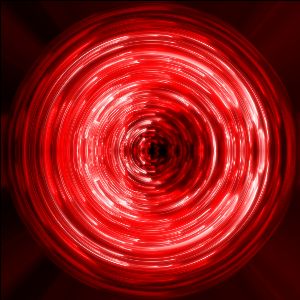
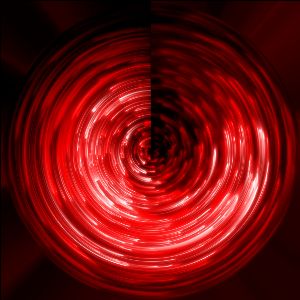
Filter-Distort-Polar Coordinates:
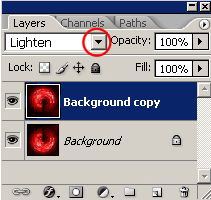
Duplicate layer again: Layer-Duplicate layer.
Then flip duplicated layer vertical: Edit-Transform-Flip Vertical.
In layer window change duplicate layer's mode to Lighten:
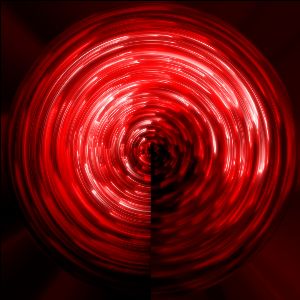
Here we go:
Good luck!