


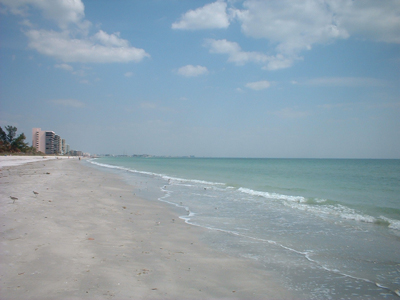
Original:
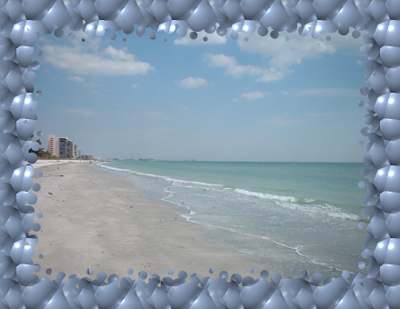
Result:
This tutorial was written by friend of mine, publicist, dj and a big Photoshop fan from New York City BCool. Actually he showed me Photoshop for the first time back in 2000.
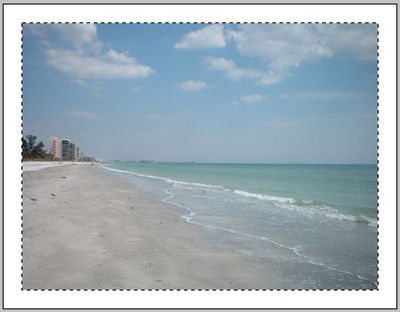
In this tutorial we'll learn how to create nice and attractive frames for your pictures. Open any picture. I took a photo of one of the Florida's beaches- this is my favorite state.
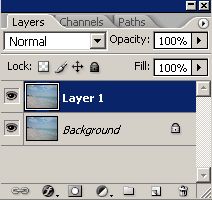
Press Ctrl+J on your keyboard to duplicate layer. Or choose Layer-Duplicate Layer.
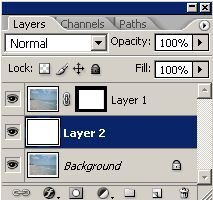
We'll need a layer window to be opened in this tutorial. If it's not open press F7 on your keyboard. Now we have duplicated layer:
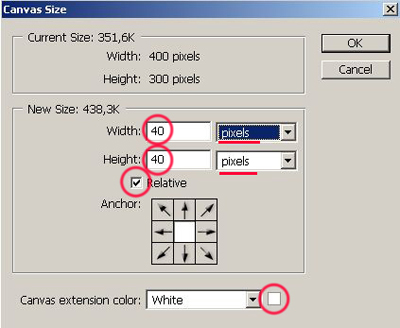
Press Ctrl+Alt+C or choose Image-Canvas size.
In the new menu put 40 pixels from each side, activate Relative and make sure that color is white!
We can see some frame now:

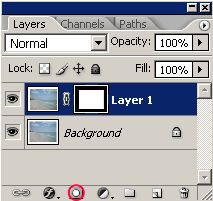
Hold Ctrl on your keyboard and click on the indicated icon of duplicated layer:
Now we can see a selection:
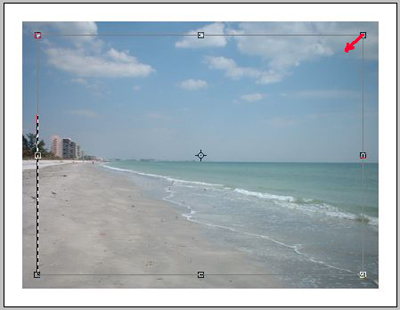
In the upper menu choose Select-Transform Selection.
You'll see such frame:

Hold down Alt on your keyboard, click on one of the corners and make this frame a little bit smaller, and hit Enter.
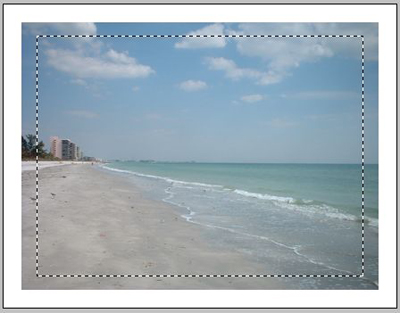
Selected area is smaller now:
Click on the indicated icon in the layer window to add layer mask:
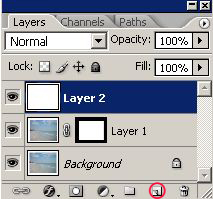
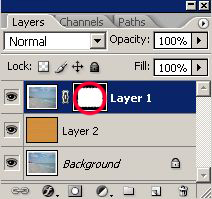
Make a new layer:
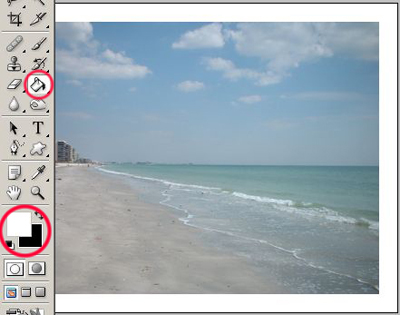
Press D then Xto set white as your foreground color. Take Paint Bucket tool and fill it with white:
If you see just white picture- it means you are doing everything right :0) Now left click on the upper layer, hold it and move it down:

Our goal is to put it between lower layer and middle layer. As soon as you'll see such dotted indication, stop moving your layer:
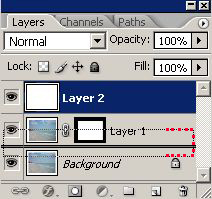
And your layer is right in the middle now:
And you can see your picture again ;0) :

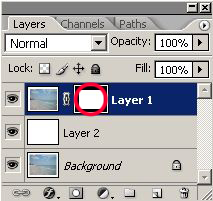
Click on the indicated icon of layer mask:
The most interesting part comes at the end of the tutorial, as usual. It's time of His Majesty Filter. You can use many filters for your frames, and you can combine them also.
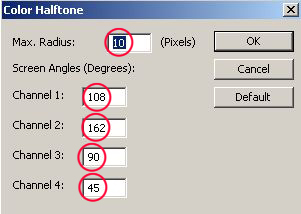
As an example choose Filter-Pixelate-Color Halftone with the following settings:
You should get something like that:

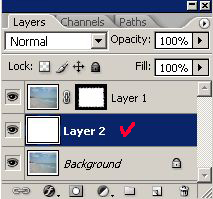
Click on the middle layer:
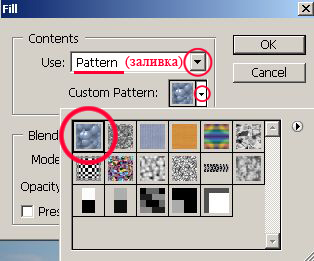
In the upper menu go to Edit-Fill.
Choose Pattern and click on the indicated pattern:
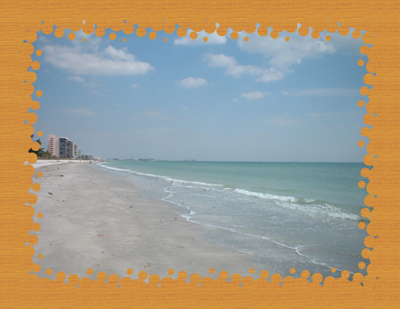
Frame is ready:
You can try another pattern:
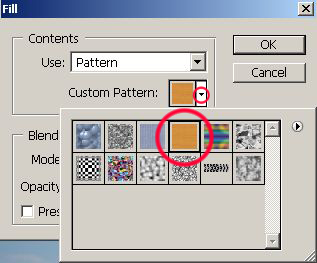
It'll look different:
Certainly, you can use many other filters. Just don't forget to click on the indicated icon of layer mask to do that:
Otherwise you couldn't get desired effect! One more example: Filter-Brush Strokes-Angled Strokes:

Good luck in photo frames! ;0)