

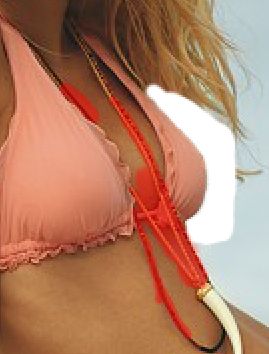
Original:

Final result:
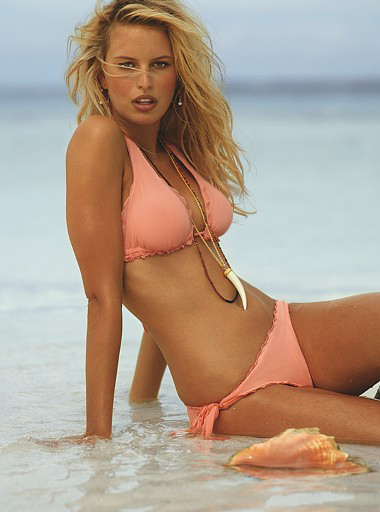
In this tutorial we'll learn how to improve breast in Adobe Photoshop. Open a picture:
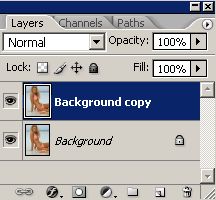
Make a new layer. Layer-Duplicate Layer.
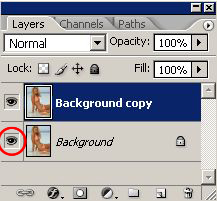
In layers window you can see a new layer (press F7 if you don't see this window).
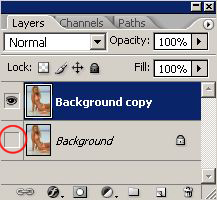
Deactivate base layer to make it invisible:
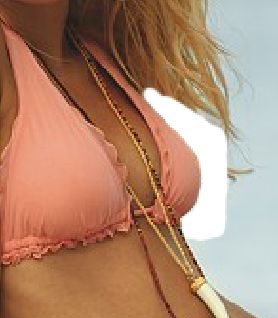
Take Eraser
![]() with small size, and erase some hair and background behind left breast.
with small size, and erase some hair and background behind left breast.
Go to Filter-Liquify or just press Shift+Ctrl+X. In filter's menu find Freeze Mask tool:
![]()
This tool actually "freezes" some areas of the image. Select beads and decorations to avoid it's enlargement. To resize your tool faster use [ (to make it smaller) and ] (to make it bigger) on your keyboard.
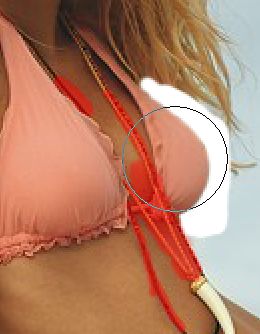
Now choose Bloat tool:
![]()
Set brush size which is a bit bigger than left breast, and make it bigger a little bit:
Do the same with the other breast:
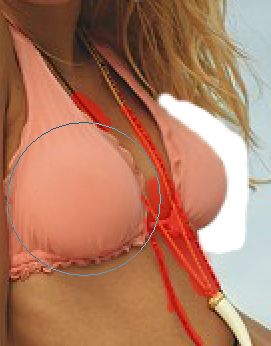
Hit OK and you'll get to the main Photoshop menu.
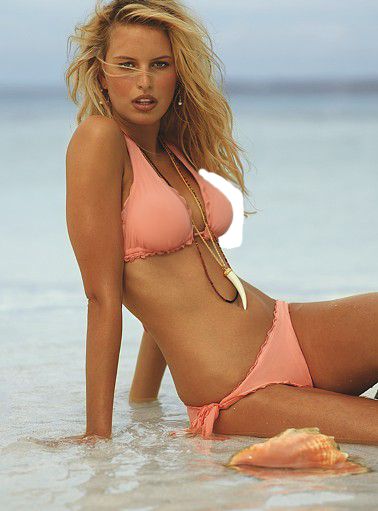
Make your base layer visible:
And you're done!
Good luck!